I have some awesome layouts to share with you that I created with the fabulous February Main kit from My Creative Scrapbook featuring the Simple Stories Life Captured collection with some Vicki Boutin Print Shop papers and puffy title stickers.
1. Love You More - This layout was inspired by this amazing cut file from PearTree Cut Files that is included with your kit subscription. I decided to use the hearts to frame my photos of my grandson Jameson at 2 months. Watch my YouTube video to see how this came together.
2. New Day, New Month, New Year, New Me - Another cut file from PearTree Cut files that is included in this kit inspired my next layout New Day, New Month, New Year, New Me. With 2023 resolutions being made, this cut file is spot on. At least for me it was as I was diagnosed with Hashimoto's (underactive thyroid) and pre-diabetes. It's time for some self love as I am struggling with just staying awake some days. Watch my YouTube video to see how this came together.
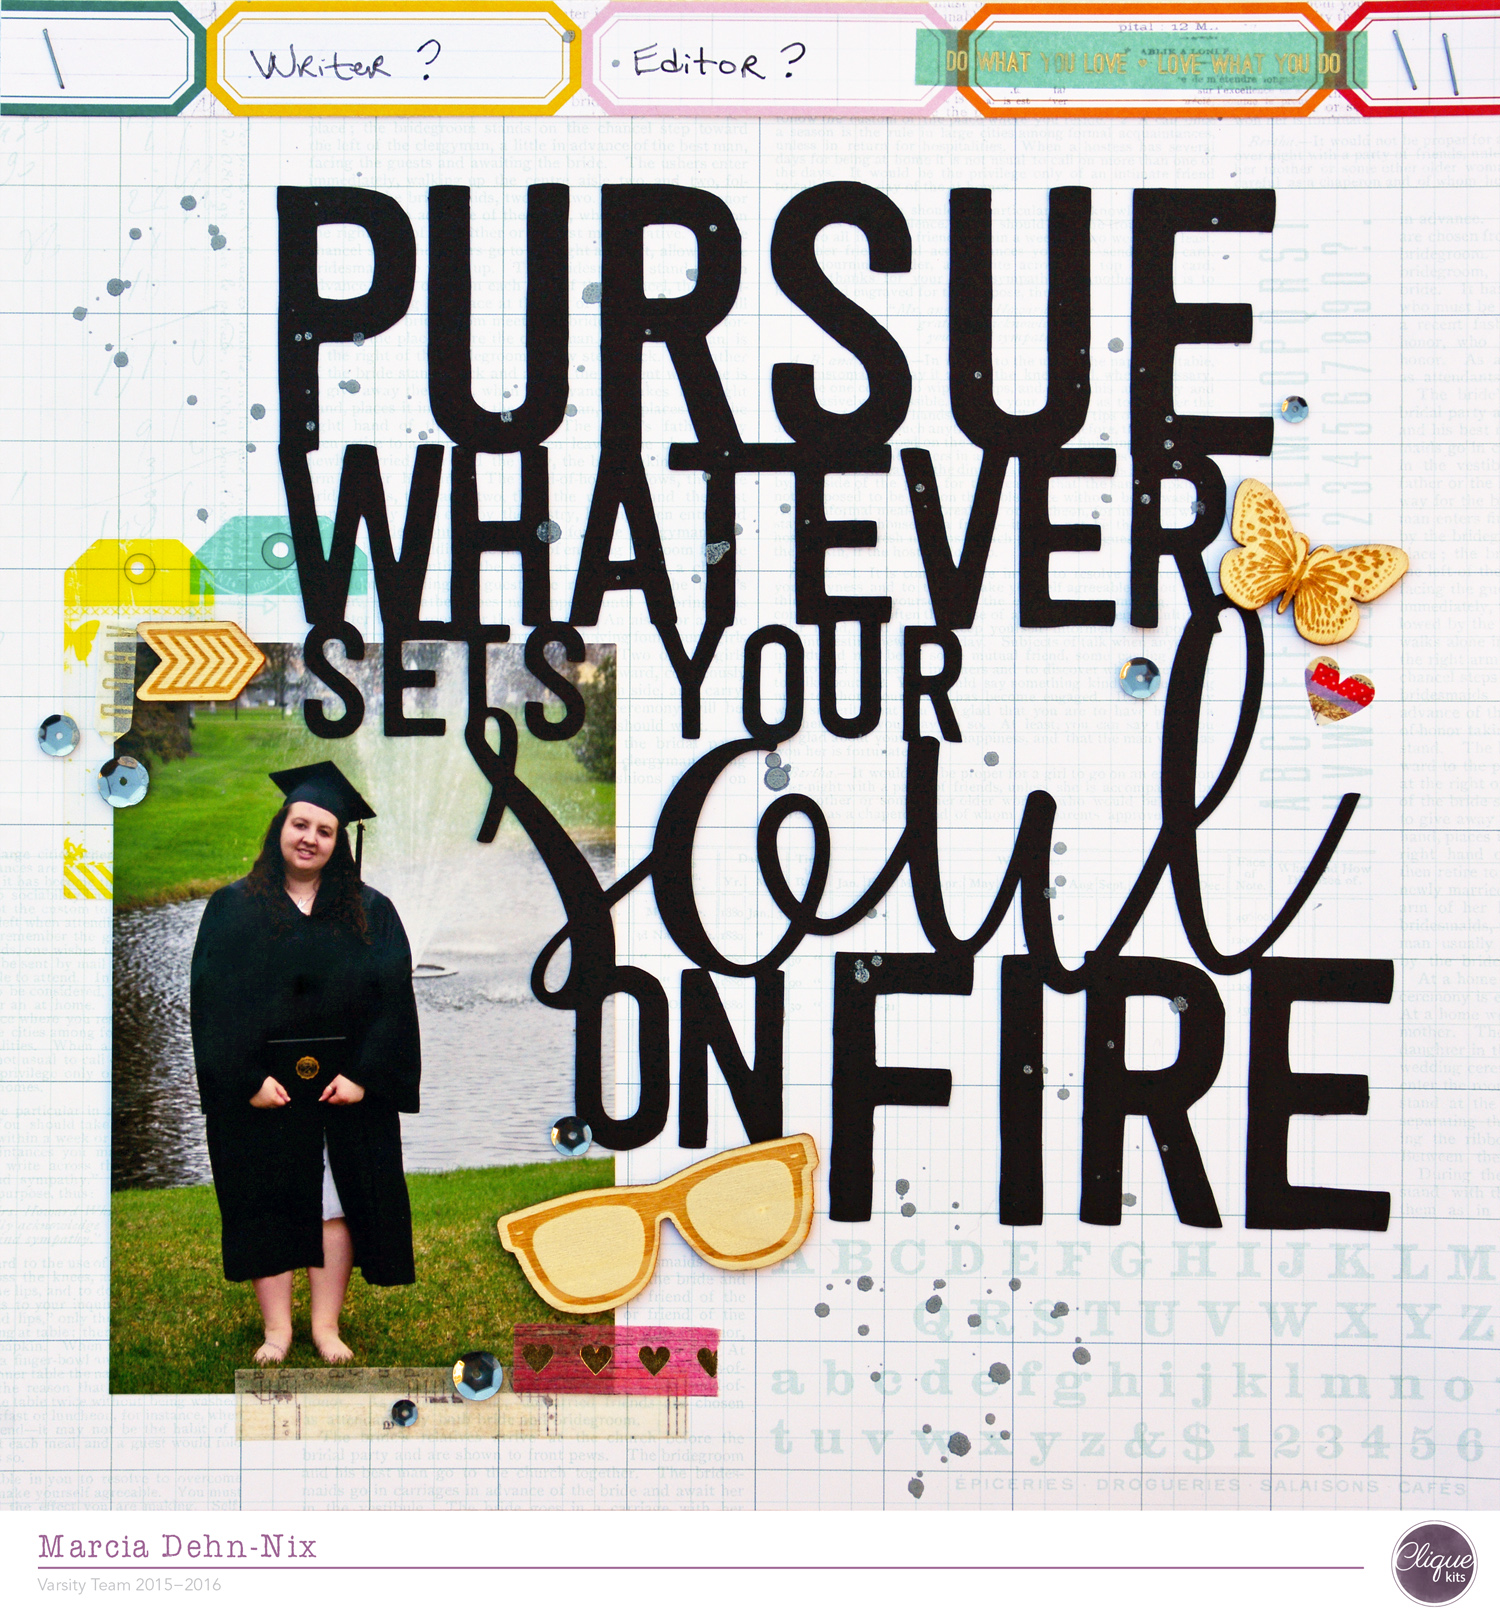
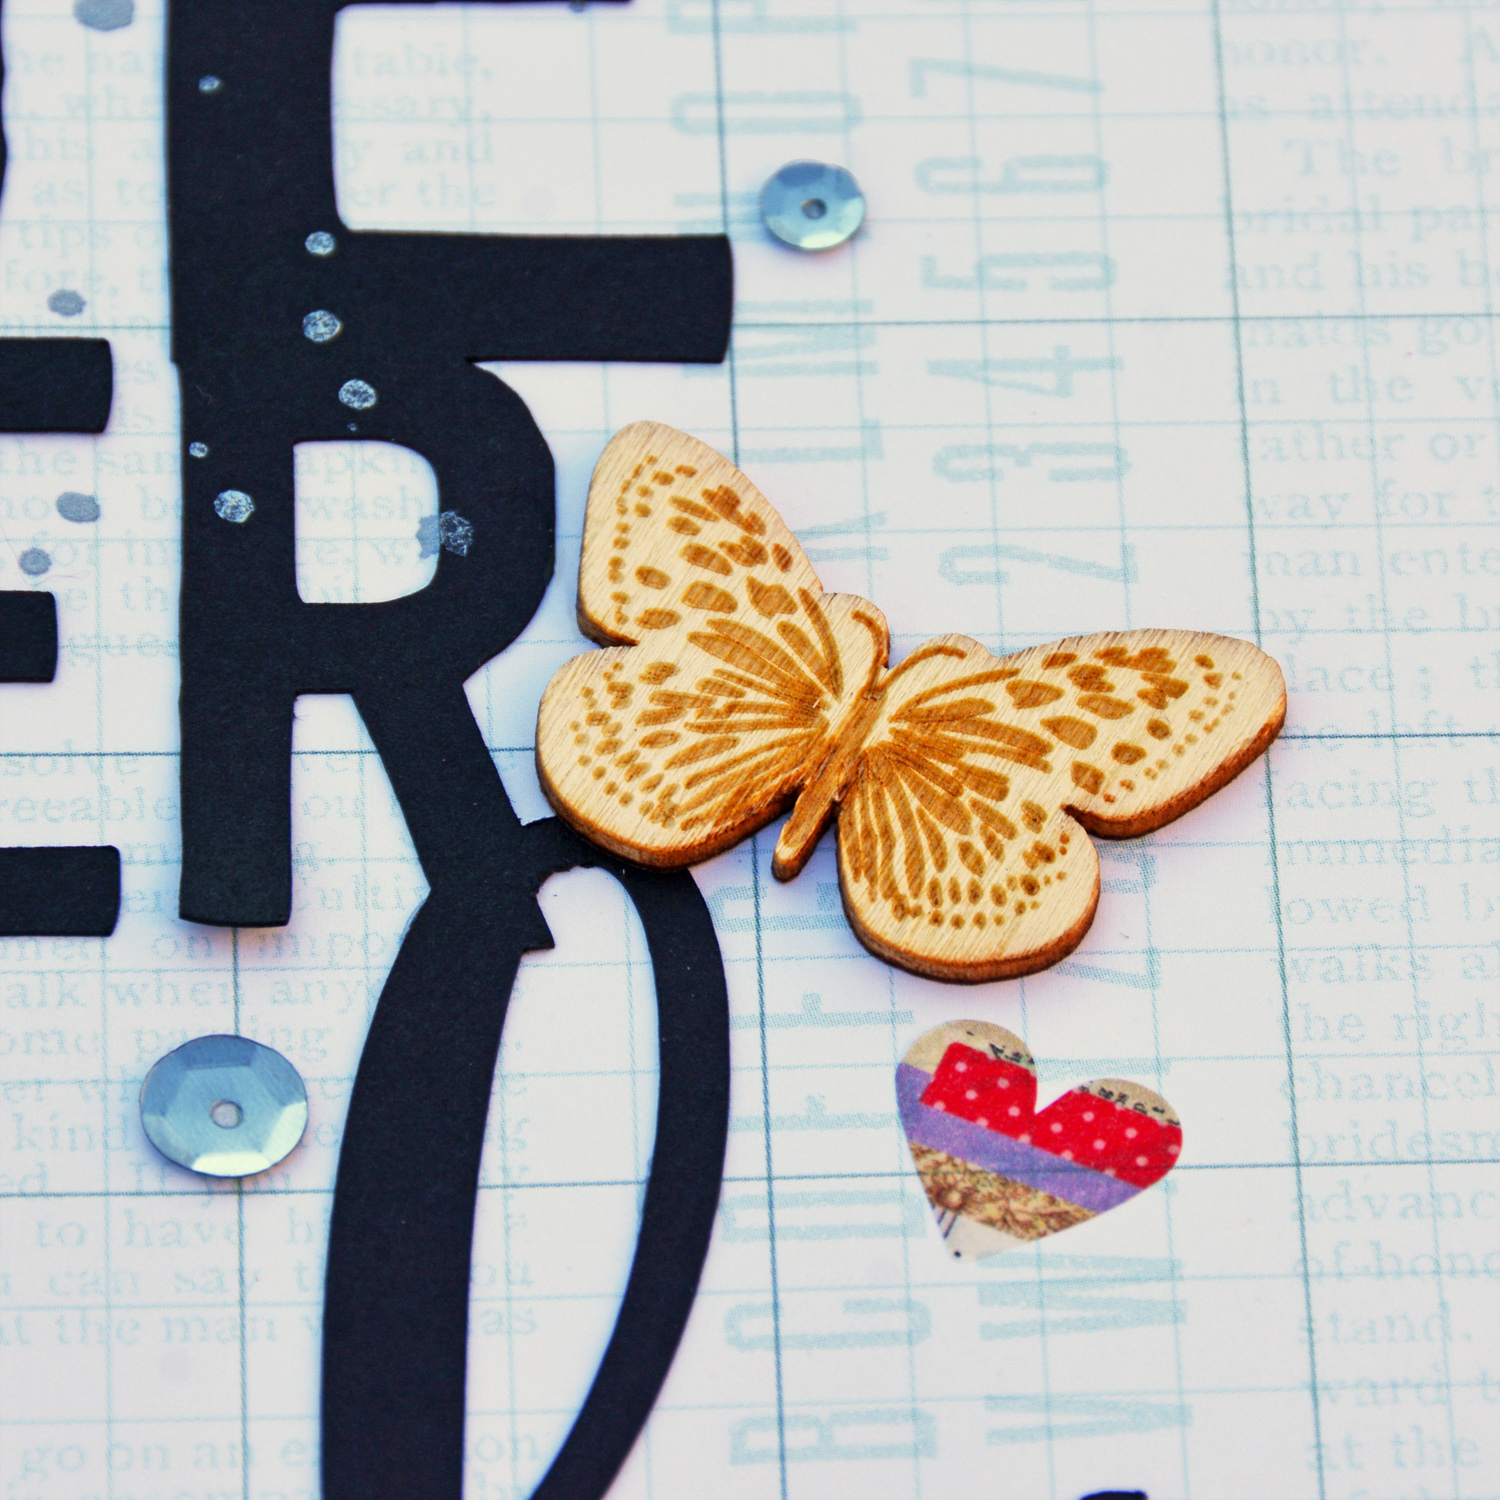
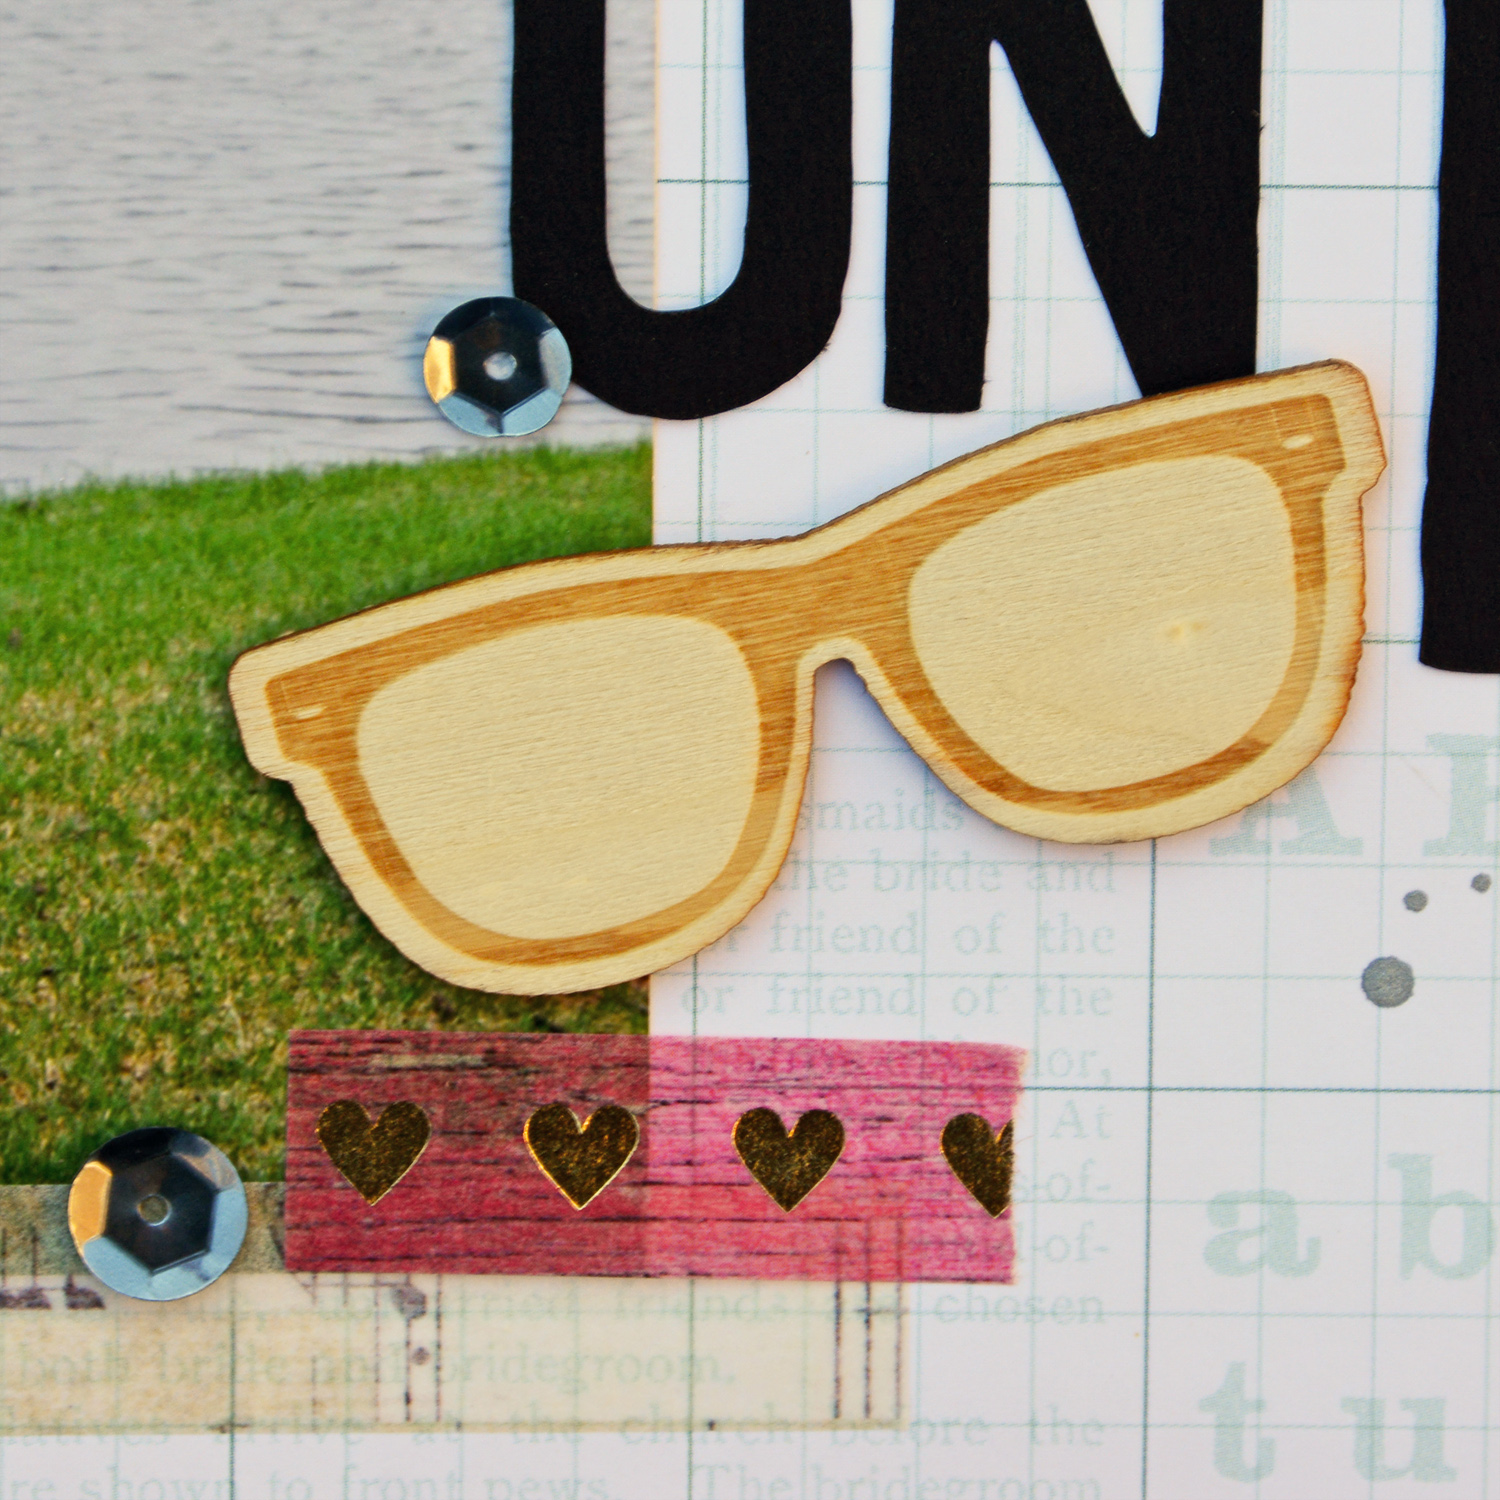
3. The Small Things - I used a sketch from PageMaps for this next layout documenting the newest family member, my great niece Ella Jo. The Vicki Boutin butterfly stencil I used here is included in the kit.
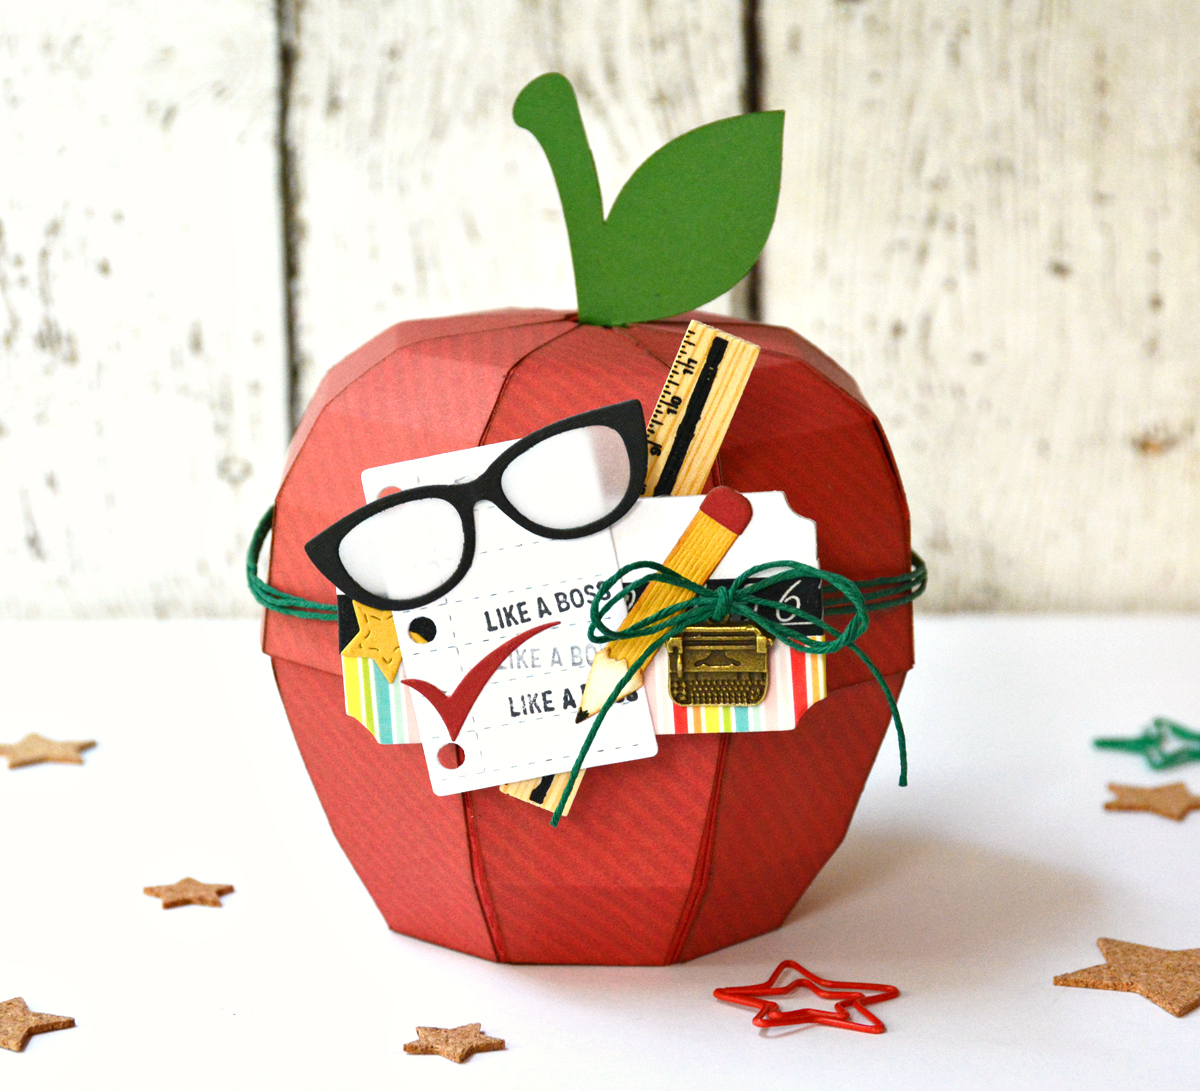
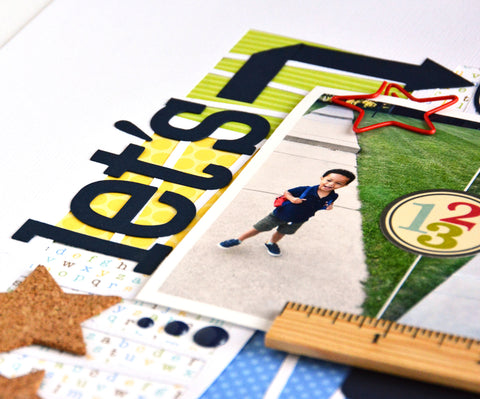
4. Back 2 School - With the Office/ School ephemera in the Simple Stories Life Captured collection I decided to pull out an old first day of school photo and finally scrap it. I used the monthly sketch by Laura Whitaker for My Creative Scrapbook.
Thanks so much for stopping by. Be sure to checkout all the kits from My Creative Scrapbook. There is sure to be something for everyone.
I have a second layout to share with you that I created with the February Main kit from My Creative Scrapbook. This amazing kit featured the Simple Stories Hello Today collection. When I saw the numbered patterned paper I immediately thought of doing a school layout. I couldn't resist using the Back To School title cut file from PearTree cut files that was included in a previous kit.
I did more computer journaling on this layout as I knew where I wanted it to go... right below my title.
So many embellishment options were included in the kit. Die cut ephemera are always a fav of mine.
Hello Pebbles friends! Marcia here today with a Back 2 School layout. I love to see the excitement on little kids faces as they head off to school for the first time. They are so happy that they are finally old enough, especially if they have been watching older brothers and sisters head off to school. Too bad that excitement wanes as they get older. I captured that excitement in a scrapbook layout I created with the new This is Family collection by Jen Hadfield.
I used a new back to school cut file by Paige Evans. I love this stack of books with the title placed carefully in the pages. I backed the bookcovers in the cut file with beautiful pattern papers. Then I fussy cut a house from one of the pattern papers. It reminds me of a little red schoolhouse.
There is this cute caterpillar on top of the books.
I figured this snail die cut would fit right in.
I created dimension by fussy cutting out leaves from the pattern paper and adding foam tape behind.
I hope your kids are excited to head back to school. Have a great week!
Supplies:
This is Family Patterned Paper
This is Family Ephemera
Today I have a layout to share that I created with the Jillibean SoupYou Make Miso Happy collection. I was inspired by the black paper with all the white words and wanted to create some word play. On the left is
the pattern paper
Bonito Flakes with it's white text on
a black background and on the right black text on a white background. The
Jillibean Soup digital cut file Kid
You're Gonna Be Great is perfect for documenting your awesome kids too just
like I did here for my awesome nephew! He is a full-time PSEO
college student and training for the Army National Guard on weekends... at 17! So
much awesomeness called for a large photo.
I continued to added text and
embellishments over the photo. Since this is a senior photo, I also added the Senior Year digital cut file as well.
This was cut from an orange polka dot paper in the 6x8 All About Dots paper pad.
I love that I was able to scrap a masculine layout from a collection that has lots of pastels and beautiful flowers.
This apple box opens up and you can place candy and/or a gift card inside.
I really love these eye glasses in the die set, which also includes the notebook paper, the star, the check mark, and the pencil. A little vellum behind the eyeglasses makes them look more realistic. I attached the typewriter charm to the green waxed hemp and tied a bow ... isn't it lovely!
All week on the JustNick Studio blog we have been bringing you Back To School inspiration. Today, it's my turn. I swear, I have the cutest, happiest nephew! Here he is showing off his new backpack.
I used 5 digital cut files to create this layout. The Broken Mirror Background cut file allowed me to use up some scraps filling in the negative space with different pattern papers.
To create movement on my layout, I wanted my title to go up one side of my photo and across the top. To connect the two, I modified the arrow from the All Boy digital cut file, making it much longer. This allowed me to fold it to fit around my photo. I used two different fonts for my title, the Type It Font and the OutLine Alphas. I love mixing fonts to create more interest in my titles.
To finish framing my photo, I tucked the TodayFile Folder underneath my photo.
Here are the cut files I used today ...
I even have a process video for you. It is part of a Back To School Series with Christine Meyer and Katelyn Clary. Links to their videos will be posted at the end of my video.
Thanks so much for stopping by today! Have a fabulous weekend!
I am back today, sharing my first layout that I created with the December Clique Kit Girl Cave featuring the fun Pink Paislee Memorandum collection. I don't think I have shared the kit here on the blog yet, so let me show you...
One of my favorite parts of any Clique Kit are the exclusive digital cut files. I thought I could use the "Pursue Whatever Sets Your Soul On Fire" title on a graduation layout. I decided to enlarge the title to make a dramatic statement. My daughter graduated from college with a degree in English with the hopes of someday becoming a writer or an editor. The label paper at the top of my layout worked well to record this. Her passion has always been writing since she was a little girl. Now she is soon to graduate with her Masters degree ... yeah!!!!
There are lots of fabulous embellishments this month, like these wood veneers from My Mind's Eye, the Pretty Little Studio acetate tags, and these self adhesive sequins from Jillibean Soup. Oh, and I love the Pink Paislee Memorandum washi tape sheet.
I challenge you to use a big title on one of your next layouts too. Be sure to shop the Clique Store's Black Friday sale for some awesome deals!
It seems like the kids just got out of school and already it's time to think about them going back. Sometimes a little note from Mom or a snack presented in a fun way lets them know that they are loved even if you aren't there for lunch anymore. I created a couple different school treat bags to give you some ideas using the Imaginisce Family Fun papers. With 'School is Cool' and 'School Rocks', I hope to convey going back to school in a positive way.
Step 1. I cut the blue cardstock 6" x 5" and scored at 2.5" on the 5" side.
Step 2. Fold cardstock in half on the score line. Arrange cardstock on Signature Antique die using washi tape to hold paper in place. The folded side of the cardstock should be near the middle of the die as we do not want to cut the fold off. Run through your die cut machine.
Step 3. We are going to do the same thing with the pattern paper only we are going to use the Antique Mat die.
Step 4. Die cut the other shapes and letters you will need.
Step 5. Assemble the treat bag toppers.
Step 6. I like to run the entire treat bag topper through my Xyron 9" Creative Station. This way I know my treat bag is not going to fall apart spilling its contents everywhere.
Step 7. Fill you treat bags with candy or goldfish crackers. I stapled the tops to help keep the bag sides folded in. Now set the top of the bag on the adhesive.
Step 8. Fold the top down to seal the treat bag shut.
I used my I-Rock to add some fish bubbles on my School is Cool treat bag. The I-Rock is super easy to use to add metallic gems or glam rocks to any project.
Hello blogging friends! Are your kiddos back in school yet? I think these treat bags will get some smiles from them and maybe homework won't look so bad after a snack :)
Xyron is teaming up with Pebbles and I got to play with the new Back To School collection. This collection rocks with its primary colors, fun patterns, and reward stickers. I found this treat bag topper by Lori Whitlock in the Silhouette store and couldn't resist. That owl is so cute!
When die cutting small shapes, How many of you end up losing the smaller pieces? I used to lose them all the time!! I have a solution for you...
Run your small shapes through your Xyron Sticker Maker or Create-a-Sticker machine as soon as you are finished cutting them. I take them directly off my cutting mat and place them in my Xyron Create-a-Sticker machine. Now, no more lost dots to those i's or other small pieces.