Showing posts with label Treat Box. Show all posts

Tuesday, September 19, 2023

Spider Web Treat Bag - Lori Whitlock

 Hello everyone.

September is just whizzing by and in no time it is going to be Halloween, one of my favorite holidays! I wanted to make some treat bags for the little ones. Lori Whitlock's Spider Web Treat Bag (SVGSilhouette) would allow me to embellish the bags myself using the Echo Park Paper Halloween Magic collection. They  turned out Spooktacular!


I added ribbon and a tag from the die cut ephemera pack so I could tie the bags shut.


Stickers from the sticker sheet worked well to embellish the bag fronts.


I know these bags will put a smile on someone's face! Lori has lots of other fun Halloween bags and treat boxes in her shop. Take a look.

Thanks so much for stopping by today.
~Marcia

Monday, April 11, 2022

April Blog Hop For Lori Whitlock

 Hello friends! It's blog hop time at Lori Whitlock!


Here is the blog hop order in case you want to start at the top or get lost along the way...

I wanted to make some Belly Boxes for my nieces and nephew for Easter baskets. Lori has a new Easter Bunny Belly Box (SVGSilhouette) that was perfect. He is the cutest!

I couldn't stop there though. I made another bunny with a handsome bow tie and a lamb as well.


Go check out all of Lori's new designs and while you are at it, grab this FREE cut file! No code or minimum purchase required.


Did I mention all those designs are 30% off!!!!!  Use code APR2022 to get 30% off all SVGs, Fonts and Commercial Licenses!


And finally, how would you like to win a $20 Coupon to the Lori Whitlock SVG Shop?


a Rafflecopter giveaway

Thanks so much for stopping by. Your next stop is Brigit Mann.
~Marcia

Monday, March 7, 2022

Easter Belly Boxes - Lori Whitlock

 Hello everyone! 

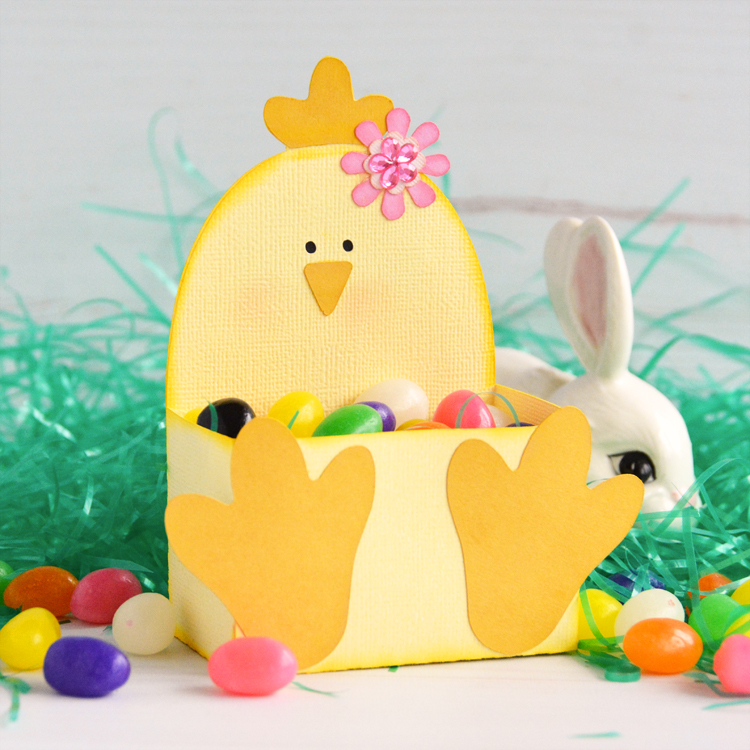
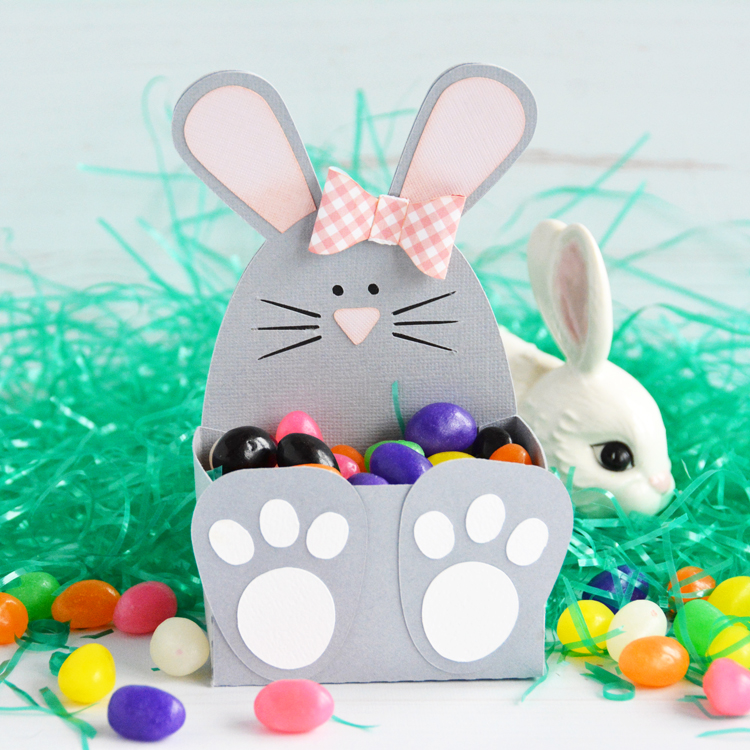
Since I have Spring fever but its still snowing here, I decided to get busy making some Easter Belly Boxes for my nieces and nephews using Lori Whitlock cut files. The belly boxes come in an array of animals and they are perfect for Easter baskets. I chose to make the Bunny (SVG, Silhouette) and the Chick (SVG, Silhouette) Belly Boxes.

Not only are they adorable but their bellies hold plenty of candy!

Lori has lots of Easter ideas in her shop. Go check them all out and have some fun making your own Easter belly boxes!

Thanks so much for stopping by.
~Marcia

Tuesday, September 7, 2021

Fox Belly Box - Lori Whitlock

Hello blogging friends! 

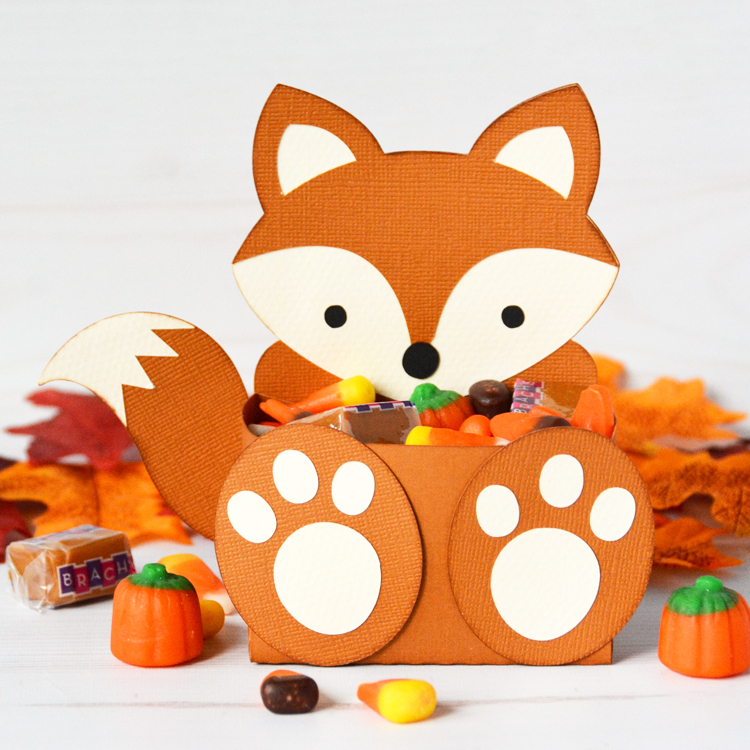
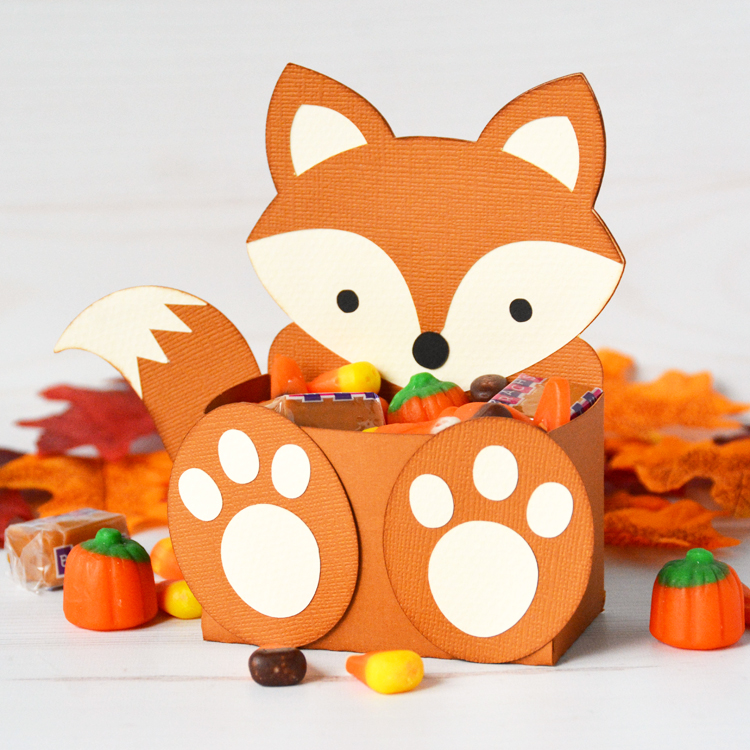
Now that September is here I am starting to think of Fall papercrafts to make. This little Fox Belly Box (SVGSilhouette) from Lori Whitlock would make an awesome party favor, gift, or adorable table decor.  Fill it's belly with your favorite fall candy.

If foxes aren't your thing, there are lots of other animal belly boxes just as adorable. Check them all out in Lori's store. 

Thanks so much for stopping by.
~Marcia

Monday, September 28, 2020

Witch Hat Handle Box Tutorial - Lori Whitlock

Hello blogging friends! 

Are you one of those people that go all out for Halloween? I love decorating for Halloween! Since it's almost October, I thought I would share a Halloween treat box with you today. This Witch Hat Handle Box can be found here (SVG / Silhouette ). I used the Echo Park I Love Halloween paper collection also designed by Lori for my box.


Let me show you how I put it all together. First select your papers and cut everything out. Before assembling, I like to ink the white edges of my pattern papers with ink. I do this with cardstock too if it has a white core.


When making a box, I prefer to adhere the panels to the box before folding on score lines and gluing the sides shut.


To add glitter to the witch hat star and buckle cut file pieces, run them through a sticker maker face down. You want the glue on the front side. I like to use a bone folder to rub across the back side of the pieces making sure all the glue transfers to the paper.


Sprinkle the glue side with glitter, or press the glue side down into the glitter in a container.


Assemble the witch hat and adhere to the front of the box along with the Eat If You Dare label. Fill with your favorite candy before gluing the handle together. I love adding bling to projects to make them extra special! 

There are four new Halloween themed handle treat boxes in Lori's Shop giving you lots of options. Go check them all out! Thanks so much for stopping by. 
~Marcia  

Saturday, April 23, 2016

Cards and More with the Clique Kits Spring Card Kit

Hello blogging friends!

I am back today to show you some of the things I have created with the awesome Clique Kits Spring Card kit. This kit features the oh so popular My Mind's Eye On Trend 2, an adorable Waffle Flower Crafts bow die, and a fabulous Honey Bee Stamp Set that is only available now in our Spring Card Kit! Take a look ...

  12705340_557682557729997_5592280439155163829_n

I have to tell you those flamingos and pineapples are my favorites. They were the first things I used to adorn my cards...

  YouRock 

My daughter's Vet School white coat ceremony is Saturday!!! I made this card for her. The glassine bag will work perfect to stick a little gift card into. Just what my girl needs ... a little $$ to make it through the next 52 weeks of her externships. Yup, I am one proud mama! Check out this adorable bow! I love that Waffle Flower Crafts die!

  BowDie

My next cards make use of more of the dies in the ephemera die cuts pack. These dies make it so easy to put a card together fast! Can't decide what paper to use ... use 2 and cut them on a diagonal for a different look....

  PineappleCard

pineappleDetail

Not wanting to waste paper, the other diagonal pieces went on another card :)

Happiness

Bow_WaffleFlower 

Yes, there was a fabulous Honey Bee Stamp set as well. I used it on this coffee cup I created from an SVGcuts Good Day at the Office digital cut file. It looks like the real deal, doesn't it. I am going to fill it with chocolates for my office assistant who is retiring. It would make a great teacher gift too. I stamped the sentiment here with VersaMark ink and embossed with gold embossing powder.

  CoffeeCup 

The butterfly was stamped on vellum and then embossed with a white embossing powder before I fussy cut it out.

  ButterflyDetail 

 If you like what you are seeing, then you better hurry and snatch up your Spring Card kit in the Clique store before they are gone! Use coupon code Marcia10 and save 10%.

 Thanks for stopping by!
~Marcia

Thursday, July 30, 2015

Whale Party Favor - Xyron and DCWV

Hello blogging friends.

Xyron teamed up with DVWV and I got a chance to play with their DIY Project Stacks Favor Boxes.
DCWV DIY Project Stack: Favor Boxes, , hi-res
There are lots of different patterns for favor boxes and bows too as well as paper. Here is what I created ...


Isn't this whale adorable!!!  It would be so cute as a party favor at a kids birthday party. Want to know how I made it?

Step 1.  Trace whale pattern onto pattern paper and cut out. You could also use the box (without the tail) and place a rabbit, or butterfly, or heart on top in place of the spout. Note... Cut 2 of the spouts, flipping the pattern upside down for the second one so it is a mirror image of the first.


 Step 2.  I like to ink the edges of my paper for a more finished look.


Step 3. On the back side of the box, score a square in the middle.


Step 4.  Using my Xyron Mega Runner, I adhered the whale tail to the bottom of the box.


Step 5.  I used my Xyron Teresa Collins Stapler to attach the spout to the box. In hindsight, I wish I would have traced the spout on the box before cutting it out so I could eliminate this step.


Step 6.  Place some Xyron Double-sided High Tack Tape on each side of the notch to keep the box together.


Step 7.  Assemble the box by adhering the notched sides on top of eachother, over the Xyron Double-sided High Tack Tape.


Step 8.  Pull the spouts through the notch, No need to glue them. For kid appeal I added googly eyes.


Supplies:
Xyron Mega Tape Runner
Xyron Double-sided High Tack Tape
Xyron Teresa Collins Stapler
DCWV DIY Project Stack Favor Boxes
googly eyes
Quick Quotes Powderpuff Chalk ink in Baja Blue

Thanks for stopping by. Be sure to check out the Xyron Facebook wall to see what the other designers created with their DCWV Stacks.
 ~Marcia

Monday, November 18, 2013

Thanksgiving - Imaginisce Style

Hello blogging friends. I've been busy getting my Ducks, I mean Turkeys in a row gearing up to host Thanksgiving again at my house. I feed a crowd of friends and relatives. This year I am expecting at least 35 people! My husband and I have a little competition going. Who cooks the best turkey? I do a traditional turkey in the oven and hubby fries a turkey. Oh and there is plenty of pie and even a gluten free pumpkin cheesecake planned. I have some special guests coming that I made these treats for. My brother-in-law Tim has been reciting our Thanksgiving day menu for 2 months now. Maybe the food in his group home is not very good, lol. I think he is going to love getting one of these turkeys to take home with him. The Imaginisce Bushel O' Fall collection is perfect for your Thanksgiving projects too.


I'm an M&M addict, but you could use candy corn or nuts if you wanted.


Imaginisce Supplies: Pattern paper: Bushel O' Fall; Stickers: Childhood Memories
The Twinery: bakers twine, pipe cleaner, google eyes, tulle, tag punch, hole punch, candy

Stop by the blog and see what the other designers have been creating.
~Marcia

Wednesday, September 4, 2013

Oh Baby! - Party Favors Imaginisce Style

Hello blogging friends. I am having fun creating some things for my niece's baby shower. She is having a boy!! I decided to make some party favors for table decor, Imaginisce style. I wanted to stick with primary colors and thought building blocks would be fun and playful. This cut file from Lori Whitlock was perfect. These block boxes open, so I can tuck some candy away inside. They can be spread around, or stacked to make more of a statement. My niece has selected a jungle theme for her nursery, so I added a few die cut animals.


Now, if you are planning a shower and the Mom-to-be is expecting a girl, Don't Worry. I got something for you too. Aren't these baby booties adorable? 


I used a couple of Imaginisce tools to make these. If you love crafting with ribbon, then the i-Magicut Ribbon Cutter is a must for you. No more frayed ends! It's so easy to use too. Turn it on. Open it up. Place your ribbon on top. Close. Press button on top for about 5 seconds. Easy Peasy


I also added bling to both the baby booties and the building blocks. A little bling just makes them more festive. These lighted tweezers makes it so much easier to see what you are doing.


Once the bling was placed where I wanted it, I used the i-Rock to adhere my gems.  


Supplies:
Imaginisce Pattern Paper: Childhood Memories, Outdoor Adventure, and Love You More; i-Magicut; i-Rock; Lighted Tweezers; crystal gems
Kraft cardstock: Core'dinations; Silhouette cut files; Quick Quote Chalk ink in Maraschino Cherry and Blue Moon, Ranger Distress ink in Wild Honey and Tattered Rose; Ribbon


The September challenge is up on the Imaginisce blog too. Here is the sketch...


The only rule for this month is: Summer Favorites/Recap (basically pick your favourite summer memories, photos, trips, etc)

Here is my take...


One of my favorite things about summer is all that summer fruit. This year I went raspberry and blueberry picking with my friend Margaret. We missed out on the strawberries. With winter hanging on forever here in Minnesota, all the crops were delayed. I included apples here too because technically its not Fall until late September. Apple orchards are open for picking here already. I can't wait for the new Sweet Tango apple variety the University of Minnesota has developed. (They are better than Honeycrisp!). The Sweet Tangos are hard to find though, so Honeycrisps will make me happy too. I made raspberry and blueberry jam this year. I love to bake pies too, so there is a picture of an apple and a triple berry pie. Blueberries are so good in pancakes too. I need to try some gluten free versions of these out on my husband. We just realized he is gluten intolerant.

I cut the triangles with my silhouette and then filled the space with my cropped photos. Here is a close up...


I hope you will join us in our next challenge. Thanks for stopping by,
~Marcia