Showing posts with label Sewing. Applique. Show all posts

Friday, June 2, 2017

Made In The USA - JustNick Studios and PageMaps

Hello blogging friends.

All this week JustNick designers have been showcasing layouts using PageMaps sketches created by the wonderful Becky Fleck. Here is the sketch she gave me...


It's awesome, right!

There is a lot going on in the sketch, so I decided to use the left side of the sketch for my background cut file. I recently returned from a vacation in South Carolina and had lots of pictures from Patriots Point, so I opted to do a patriotic layout. It seemed fitting with Memorial Day just this past Monday. My guys really enjoyed visiting the USS Yorktown. I think they could have stayed there for hours.  I stuck pretty close to the PageMaps sketch. I did use a larger focal photo in the middle. Here is my layout...


I used a cut file called Ride the Wave. I resized it to fit on the left half of my layout. It reminds me of the American flag waving in the wind. My intent was to leave it red and white, but then decided to add some blue in the negative space. Some machine stitching reinforces the wave design.


Here is the cut file I used today...


If you are interested in my process video, here it is ...


Thanks so much for stopping by. Be sure to check out the other sketches from this past week and their coordinating layouts.

~Marcia

Saturday, May 14, 2016

Don't Just Follow Your Dreams, Chase Them - JustNick Studios and Clique Kits

Hello blogging friends!

School is winding down here in the states and another of my nephews is graduating! I just received his grad party invite in the mail along with a photo and had to use the new JustNick Studios  Dreamcatcher_1 digital cut file to scrap it. The dreamcatcher is perfect for him as he is part American Indian.


I placed my title on the left side of my photo as I did not want to cover up too much of my dreamcatcher. Of course my title had to contain the word dream! To keep the dreamcatcher from being too busy I limited myself to just 3 different pattern papers.


This is my 5th layout with the May Clique Kit featuring the Fancy Pants Designs Attwell collection and I still have plenty of paper left for a few more layouts I think! I thought that feather pattern paper in the collection was perfect for the dreamcatcher. I also used the feather washi tape that was an add on.


Here is the Dreamcatcher_1 cut file I used...


I hope you snatched up the free cut files last weekend from JustNick Studios for International Scrapbook Day. This Dreamcatcher 1 file was one of the freebies.

Thanks for stopping by. 
~Marcia

Wednesday, January 6, 2016

Hello Life - Clique Kits

Hello blogging friends!

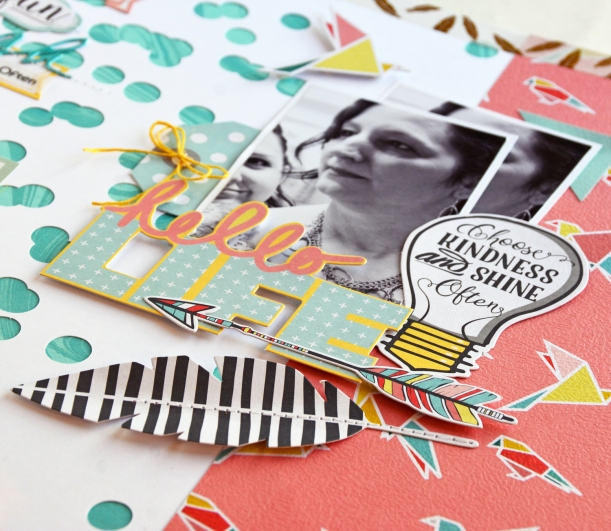
I am back today with my fourth layout that I created with the January Clique Kit featuring the awesome Fancy Pants Designs Happy Place collection.  I LOVE, LOVE, LOVE this kit!!! I still have lots of paper and embellishments left too, which is amazing because I love to use lots of pattern papers on my layouts. For today's post, I thought I would give you an idea on how to use some of those labels that came with the kit. I created this layout, documenting some of my 2016 New Year resolutions. I am also using one of the exclusive digital cut files designed by Lacey. I love this one because it reminds me of confetti. I really love how this one turned out even though it has a photo of me, lol.

  HelloLife

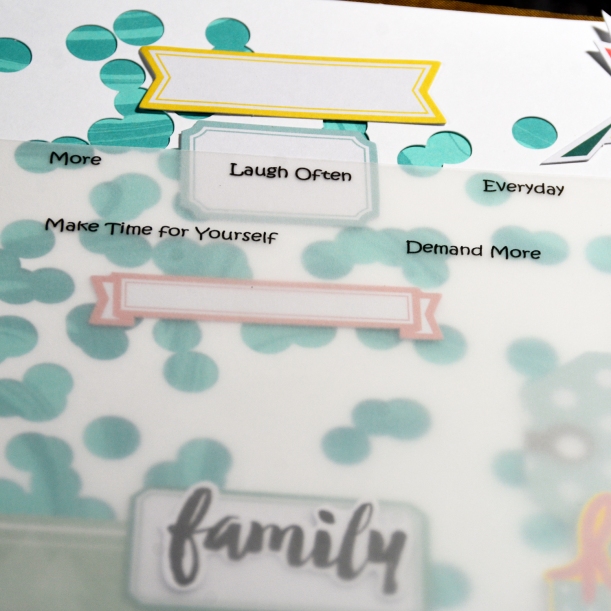
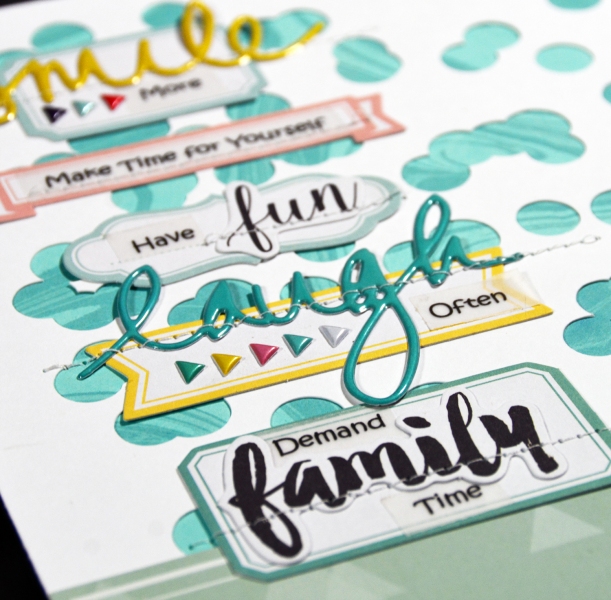
It often amazes me that some people can be so happy-go-lucky and others are so serious. I am one of those serious people. This year I want to Smile More, Make Time for Me, Have Fun, Laugh Often, Spend Time with my Family, and Celebrate Every Day. I selected some of the puffy script stickers that were an Add-on and some of the ephemera die cuts. Then I decided to print the text I needed on vellum. This would allow me to move things around. For no show adhesive on the vellum, I used my Xyron Sticker Maker.

  VellumWords

Then I arranged the vellum, stickers, and ephemera die cuts on the labels. I like how the stitching emphasizes my resolutions.

 labels

celebrate 

 There are so many awesome ephemera die cuts. I used another one for my title here.

  Feather

Thanks for stopping by today. Clique Kits is having a clearance sale, making room in the store for some new purchases. Use coupon code Marcia10 and save yourself 10%. Also there is a new Anything Goes challenge up on the blog. No excuses... link up and join the fun!

Saturday, March 7, 2015

Elephant Applique Tutorial - Top Dog Dies

Hello blogging friends. Marcia here today with a tutorial for you on how you can use your dies for applique projects. You can use appliques to dress up clothes, embellish a quilt, decorate household items like pillows, and more! I used the new Top Dog Elephant dies to create a unique baby shower gift...


Here is a closer shot ...


So, Do you want to know how you can create your own appliques?

First lets gather our supplies.
Top Dog Dies Elephant die set - (lots of other Top Dog Dies would work too)
Quilt fabric (cotton) - Fat quarters of fabric are a great way to buy just a little bit of fabric in a couple coordinating colors and patterns.
Pellon Wonder-Under - If you are not familiar with Wonder-Under it is a paper backed fusible web.
Matching DMC floss and needle
Small button for the elephant's eye
Teflon Sheet (optional, but I highly recommend it)
Iron
Something to put your applique on - I used a couple of onesies. T-Shirts, pillows, hats, jeans would have worked just as well.

1. Cut small squares of fabric large enough for cutting out elephants and the same size squares of the Pellon Wonder-Under. Iron Wonder-Under to the back side of the fabric. Leave the paper for now.


2. Die cut your fabric placing the die on top of the fabric side. Your die cut sandwich would be the same as for paper. I also placed a metal plate under my sandwich to ensure a nice clean cut.


3. Peel paper backing off Wonder-Under and arrange die cut fabric on the material. Heat iron, following temperature instructions on Wonder-Under.


4. Place Teflon sheet over die cuts and iron pressing firmly. The Teflon sheet distributes the heat evenly and helps prevent scorching of the fabric.


5. Let cool. Then check if totally adhered. If not, replace Teflon sheet and iron again.


6. Use DMC floss to blanket stitch around the edge. I used 2 strands of floss while stitching.


7. Sew on a small button for the elephant's eye.


This will be even more adorable with a coordinating hat or skirt or pants. I hope you will give it a try.
~Marcia