Showing posts with label Craftwell. Show all posts

Thursday, October 15, 2015

Wedding Mini Album - Xyron and Teresa Collins

Hello blogging friends!

Xyron and Teresa Collins teamed up and I was thrilled to receive the Project Pink Papers to play with. I thought I would get a head start on a Christmas present and make a Wedding Mini Album for my Mother-in-Law. It's hard to believe that my daughter's first anniversary is coming up soon (and even harder to believe my Mother-in-Law hasn't demanded an album yet, lol.)  I loved the acetate sheets from the Teresa Collins Project Pink collection and thought they would look so elegant as mini album pages. I even used the acetate to create a few pocket pages. Take a look...
( I photographed this before binding it. I thought it would be easier with the album pages laying flat. )


I love that some of the pages are heart shaped and others die cut so elegantly. Here is a tutorial on how I created my mini.

Supplies:
Teresa Collins Project Pink papers including the acetate papers
Top Dog Dies Signature Antique die, Antique Mat, and Heart Mini Album
Craftwell Teresa Collins Girls Best Friend die set (ring)
Xyron 9" Creative Station with both the 9" permanent adhesive and the 5" permanent adhesive
Xyron Mega Runner
Xyron 3" Sticker Maker
A Flair For Buttons: Lovely Words Flair
Gold Sequins, lace, washi tape

Step 1. Die cut various shapes from paper, box board, and acetate. I planned to mount the papers to the box board.


Step 2. Run the papers through the Xyron 9" Creative Station with the 9" permanent adhesive loaded. Carefully adhere the papers to the box board.


Step 3. Cut one of the acetate shapes in half to create two pocket pages on the front and back sides of a box board page. I stapled one side to keep the acetate from moving while I stitched around the edges.


Step 4. Select your photos and die cut some of them from the Top Dog Dies Antique Mat die.


Step 5. Run the photos through the Xyron 9" Creative Station with the 5" permanent adhesive loaded. I love that this new machine takes both the 5" and 9" adhesive! Carefully adhere these photos to the front and back sides of an acetate album page.


Step 6. Here is a nice trick to use when you want to print onto your scrapbook paper... I trimmed a journal card to a size that fit the front of my album and ran it through my Xyron 3" Sticker Maker.


Step 7. Using a Word program on my computer, I printed out the album details.


Step 8.  I carefully adhered the scrapbook paper over the text. Holding it up to the light can help you get things centered nicely.


Step 9. Now run the paper through the printer again.


Step 10.  Embellish the mini album as desired.


I hope you enjoyed my mini album. Check out the Xyron Facebook page for more inspiring projects.
Thanks for stopping by,
~Marcia

Tuesday, September 15, 2015

Sparkle - Xyron and Craftwell tutorial

Hello blogging friends.

Xyron teamed up with Craftwell again and I was lucky enough to be able to play with the "Girls Best Friend" die set by the amazing Teresa Collins.

I knew straight off that I wanted to make a shaker card with lots of sparkling sequins. Take a look at the cards I created.


and another view when the card is flat, so you can see more of those sequins, stars, and diamond rings.

Let me show you how I created it....

Step 1.  Cut a piece of cardstock for your card front and using the Sparkle die, run it through your die cut machine.


Step 2.  Lay this die cut on top of a piece of foam, cut slightly smaller than the card front. Carefully mark where the top, bottom and sides are so you can later cut this away.


Step 3.  Run the foam through the Xyron 9" Creative Station with the 5" permanent adhesive.


Step 4.  Trim away the foam using our markings as a guide. You will want to trim away about 1/4" more at least so this is not visible from the front of the card. Adhere this to your card base.


Step 5.  Let's die cut some stars and rings for our shaker card out of gold foil paper.


Step 6.  Fill the cut out space with sequins and die cuts.

Step 7.  Run the card front through the Xyron 9" Creative Station with the 5" permanent adhesive.


Step 8.  Trim a piece of acetate and adhere to back side of card front.


Step 9.  Apply some Xyron Double Sided High Tack Tape to the side edges of the acetate. This will keep the sequins and dies from escaping.


Step 10.  Carefully line up card front edges with the card base. Then you are ready to shake, shake, shake.


Now, I don't like to throw away beautiful die-cuts or scraps, so I created a second card using the positive Sparkle die cut.


Here is how I created this one...

Step 1.  Insert the die cut face down into Xyron 1.5" Sticker Maker.


Step 2.  Peel off paper backing and place face down in glitter. Press firmly to get the glitter to stick all over.


Step 3.  Run a scrap piece of the gold foil paper through the Xyron 3" Sticker Maker. I love taking this one to crops instead of packing my larger Creative Station.


Step 4.  Place die cut on top of foil paper and run through you die cut machine.


Step 5.  Assemble your card. When you are ready to use the die cuts, just peel off the paper backing.


Step 6.  Adhere the Sparkle die cut and some stars and your card is complete.


Thanks for stopping by. I hope you have a great week.

Monday, August 17, 2015

Twinkle Twinkle Little Star - Xyron and Craftwell

Hello blogging friends!


Xyron is teaming up with Craftwell all this week and today I get to share what I created with one of their embossing folders. I used the Star folder which will be coming to stores soon, I promise. It's a new release.


Those stars had me thinking....Twinkle Twinkle Little Star, so of course I had to dig out my Graphic 45 Mother Goose collection to see what I could find. Here is the card I created.


I love how it turned out, don't you. Let me show you how I created it.

Supplies you will need:
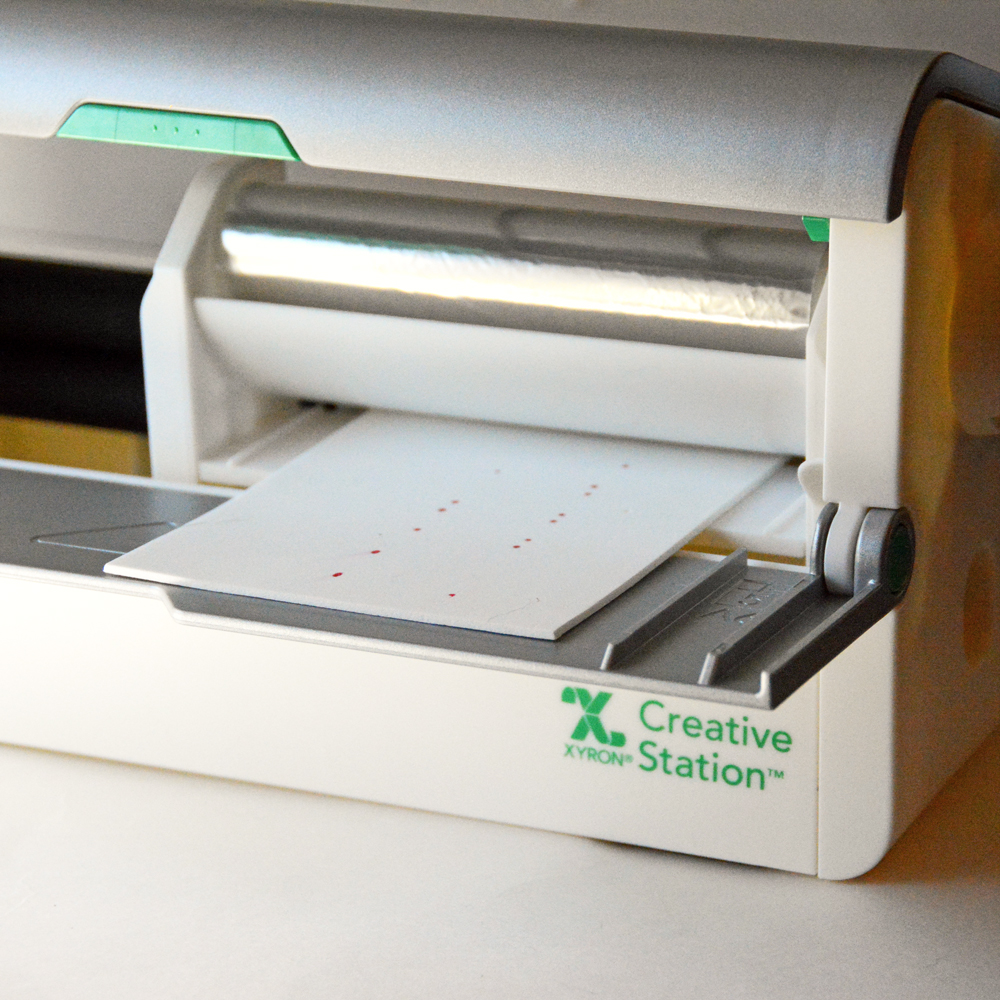
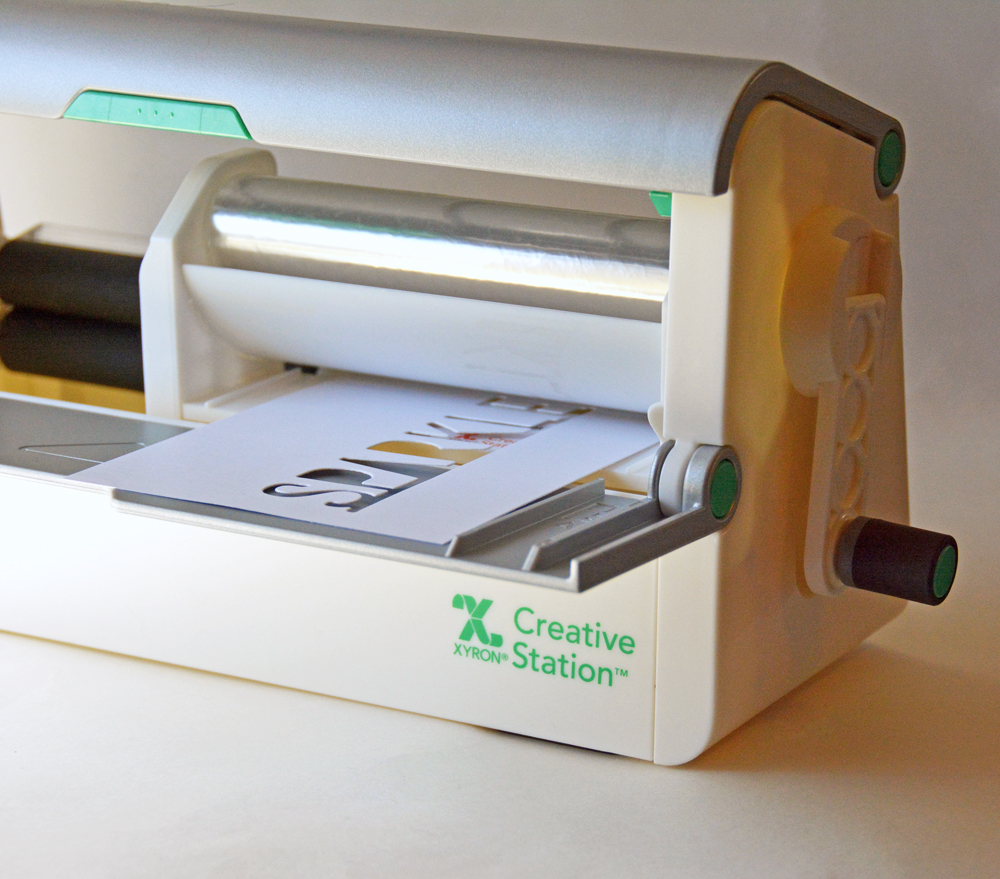
Xyron new Creative Station with 9" and 5" permanent adhesive
Xyron Mega Runner
Xyron Adhesive Dots
Craftwell Stars Embossing Folder
Pattern Paper
Core'dinations Cardstock
Big Kick or other machine for embossing
Distressing Tool
twine
button
scissors
paper trimmer

Step 1.  Trim down a piece of cardstock the width of your embossing folder and run it through your embossing machine.


Step 2. Use a distressing tool to sand the raised stars, allowing the core color to show.


Step 3. Cut a piece of pattern paper slightly larger that the embossed cardstock. Run both pieces through the new Xyron 9" Creative Station. Adhere the embossed cardstock on top of the pattern paper.


Step 4. Die cut a pennant flag. I use washi tape to hold my die in place. This is especially helpful with pattern paper like this, so I can be sure to get everything straight.


Step 5. Trim the journal card with the little boy looking out the window. Since there were two, I took the second one and fussy cut just the boy and the blanket out.


Step 6. I like dimension, so I adhered the boy on top of the journal card using foam squares and then adhered him to my card with foam squares also. I used my Xyron Mega Runner to adhere the flag in the upper left.


Switch out the 9" adhesive for the 5" adhesive. It is so easy to do. Open the top, pull out the 9" roll, flip up the green 5" guide, pop in the 5" roll, and close the lid. Easy Peasy.


Step 7. Run the card front through the Xyron Creative Station with the 5" adhesive roll in place and mount to card base.


Step 8. Tie a bow with some twine. This is my secret to creating the perfect bow; it's a Bow-Easy. Add a button to the middle of the bow.


Step 9. Adhere the bow and button using Xyron adhesive dots. Don't touch the adhesive dot, but instead set the backside of the bow on top of the dot, then pull gently off.


Step 10. Adhere a chipboard flag on top of the other flag using the same adhesive dots.


Thanks for stopping by, Go check out the Xyron and Craftwell Facebook pages all week long to see more inspiration.

~Marcia