
I am back today with even more Clique Kits inspiration for you using the awesome July Kit Raskog featuring the Pinkfresh Studios Life Noted collection. When I saw the AWESOME paper, I really wanted to use it to scrapbook a picture from a trip to Chicago with my daughter and some of her friends. How can you not think to scrap some city pics with those buildings on this paper! I find most of the Pinkfresh Studios papers to be very busy ... lots of patterns, graphics, colors. It can be a bit overwhelming, especially since my style tends toward layering and combining pattern papers with digital cut files. I find it much easier to use the papers as they were designed and not try to mix pattern papers too much. I only used a single sheet of paper on this layout. It is very simple...
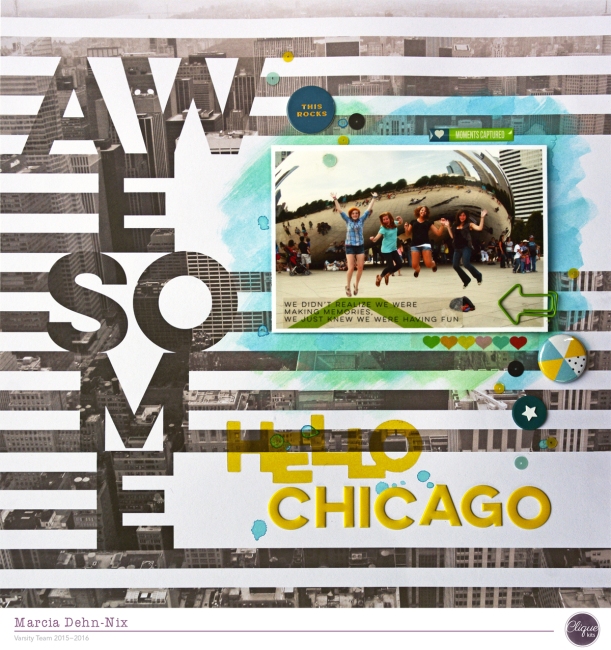
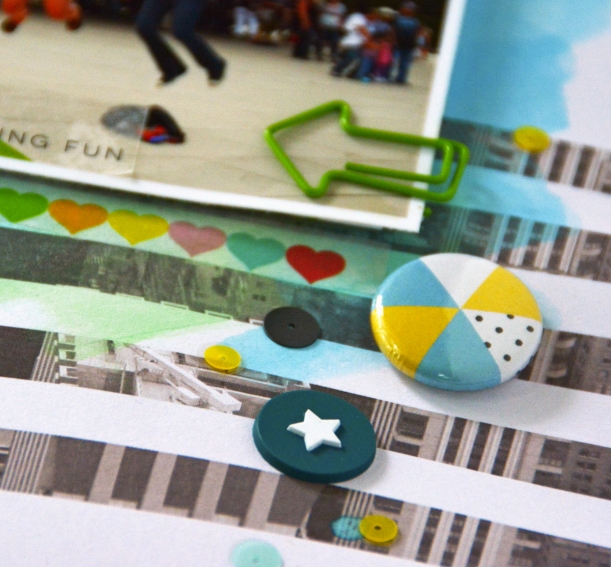
I merely added a little watercolor, pulling out some of the colors from my photo. This really helps draw the eye to my photo. I embellished with one of this month's exclusive flair buttons, an arrow clip, a rubber charm and sequins from the kit, and then a few extra add on pieces from the Pinkfresh Life Noted collection.

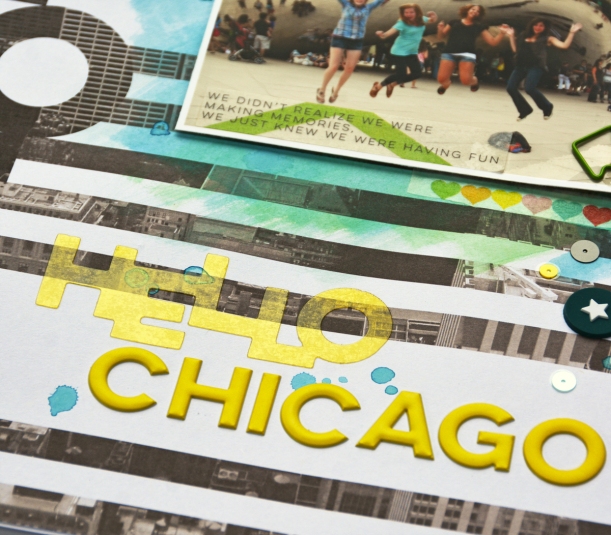
The Hello acetate word and alphas included in the kit were used for my title. I used my Xyron Sticker maker to adhere the acetate Hello here. It worked really well.
I wanted to share a scrap room organization tip with you today too. I don't always use all the flair in each months Clique kit <gasp>. Sometimes they just didn't coordinate with the photos I scrapped. I kept my extra flair in a bowl on my scrappy desk. But my bowl was getting full, and I thought I would use more flair buttons if I could easily see what I had. I decided to make a magnetic frame to store them on.
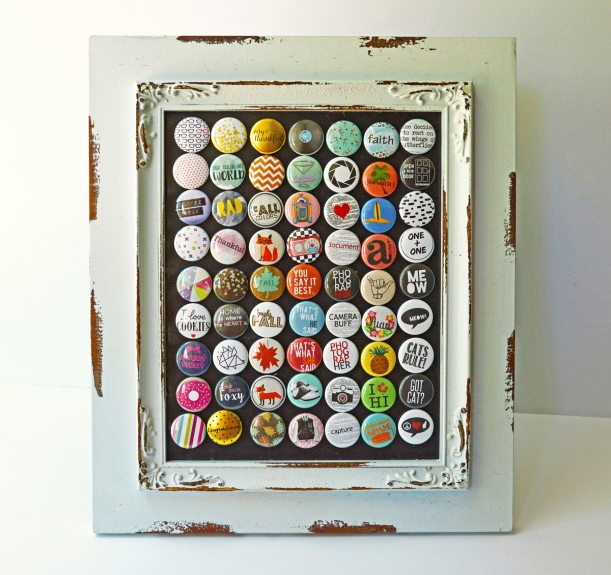
I bought this 8x10 vintage looking frame at Micheals and inserted a magnetic sheet from my Xyron Creative Station in place of the photo. I could then display my metal backed flair on the frame. It holds 63 flair buttons! You may recognize some of the Clique Kits flair, others came from Etsy stores; A Flair For Buttons, the Flair Shop, and Paper Issues. I may have a slight flair addiction ... this IS NOT even all of my flair! I love this frame so much though that I am thinking of making another one for my Cocoa Vanilla Studios flair.
Well that is all the scrappy inspiration I have for you today. Thank you so much for stopping by!
~Marcia
Great layout of the trip! Absolutely love this idea for flair buttons!!! Might be a future mood board or challenge inspiration too :)
ReplyDeleteThis is awesome! Love the background and the flair is so cute!!!
ReplyDeleteAwesome page!! LOVE the design and the colors!!! WOW!! And what a cool way to display the flair. May have to scrap lift that!!
ReplyDelete