

I used the Simple Stories Stars and Stripes Simple Set, the new Xyron 9" Creative Station, and the Made in the USA cut file from SVGcuts.com. I LOVE how this turned out! It looks great on my mantle, but it could also be used for table decor as well.
Let me show you how I made it. You will need ...
Supplies:
Xyron 9" Creative Station, Xyron 3/8" adhesive dots, Xyron 1.5" Sticker Maker
Simple Stories Stars and Stripes Simple Set pattern paper, Brad
American Crafts cardstock
Made in the USA cut file from SVGcuts.com
Silhouette Cameo or other electronic cutting machine.
Teresa Collins adhesive gems
Twine
Ribbon
Step 1. Use your Silhouette Cameo to cut out the Made in the USA "USA" files.
Step 2. It is so much easier to decorate the alphas before assembling. Use your 9" Creative Station to get a good edge to edge seal when adhering the pattern paper to the cardstock.

Step 3. I also used ribbon to decorate the front of my "U". After cutting the ribbon to size. I ran it through my Xyron 1.5" Sticker Maker and then arranged on the "U". There is no glue seepage through the ribbon this way.

Step 4. Assemble the "U". If you have never used SVGcuts files before, there is an instructional video you can watch in case you get stuck.

Step 5. Using a brad, assemble the flower and use a couple Xyron 3/8" adhesive dots to adhere it to the front.

Step 6. Assemble the "S". With all those curves, this one takes patience.
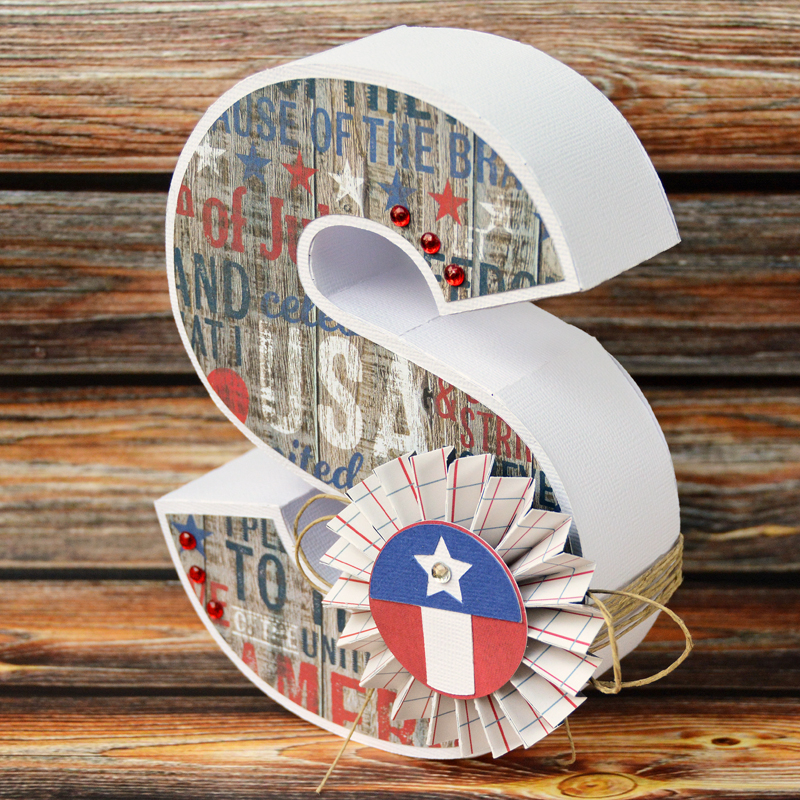
Step 7. Assemble the rosette. Wait for it to dry. While waiting, wrap some twine around the "S" and tie a double bow. Some well place Xyron 3/8" adhesive dots keeps the twine in place. Use another adhesive dot to adhere the rosette to the "S".

Step 8. Assemble the "A".

Step 9. Score the white star from each point to the middle. Turn over and score again from the corner (between each point) to the middle. Place pattern paper (previously run through the 9" Creative Station) on top. Fold star on score lines. Wrap some twine around the star. Use another Xyron 38" adhesive dot to adhere the smaller star on top. Some Xyron 3/16" adhesive dots worked well to adhere the star to it's red base. Place star on the "A".
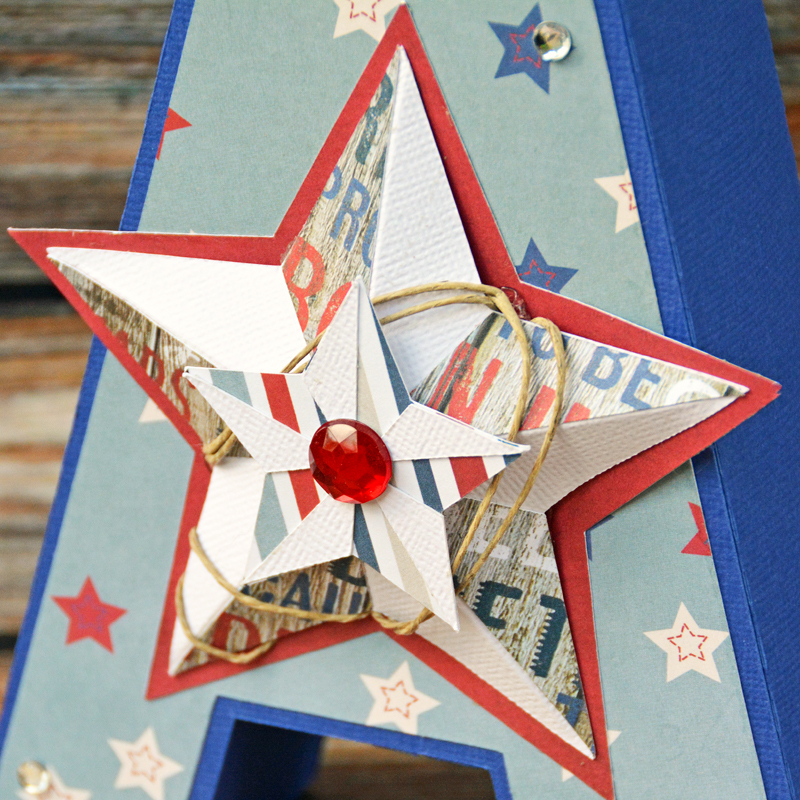
Step 10. Add adhesive gems if you like.
~Marcia


