Showing posts with label Camping. Show all posts

Tuesday, September 11, 2018

Itasca Headwaters - Jillibean Soup

Hello blogging friends!

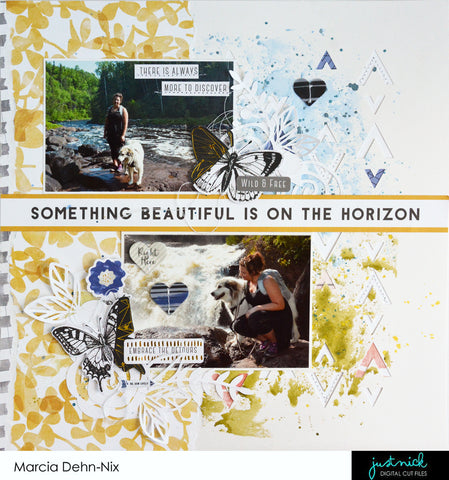
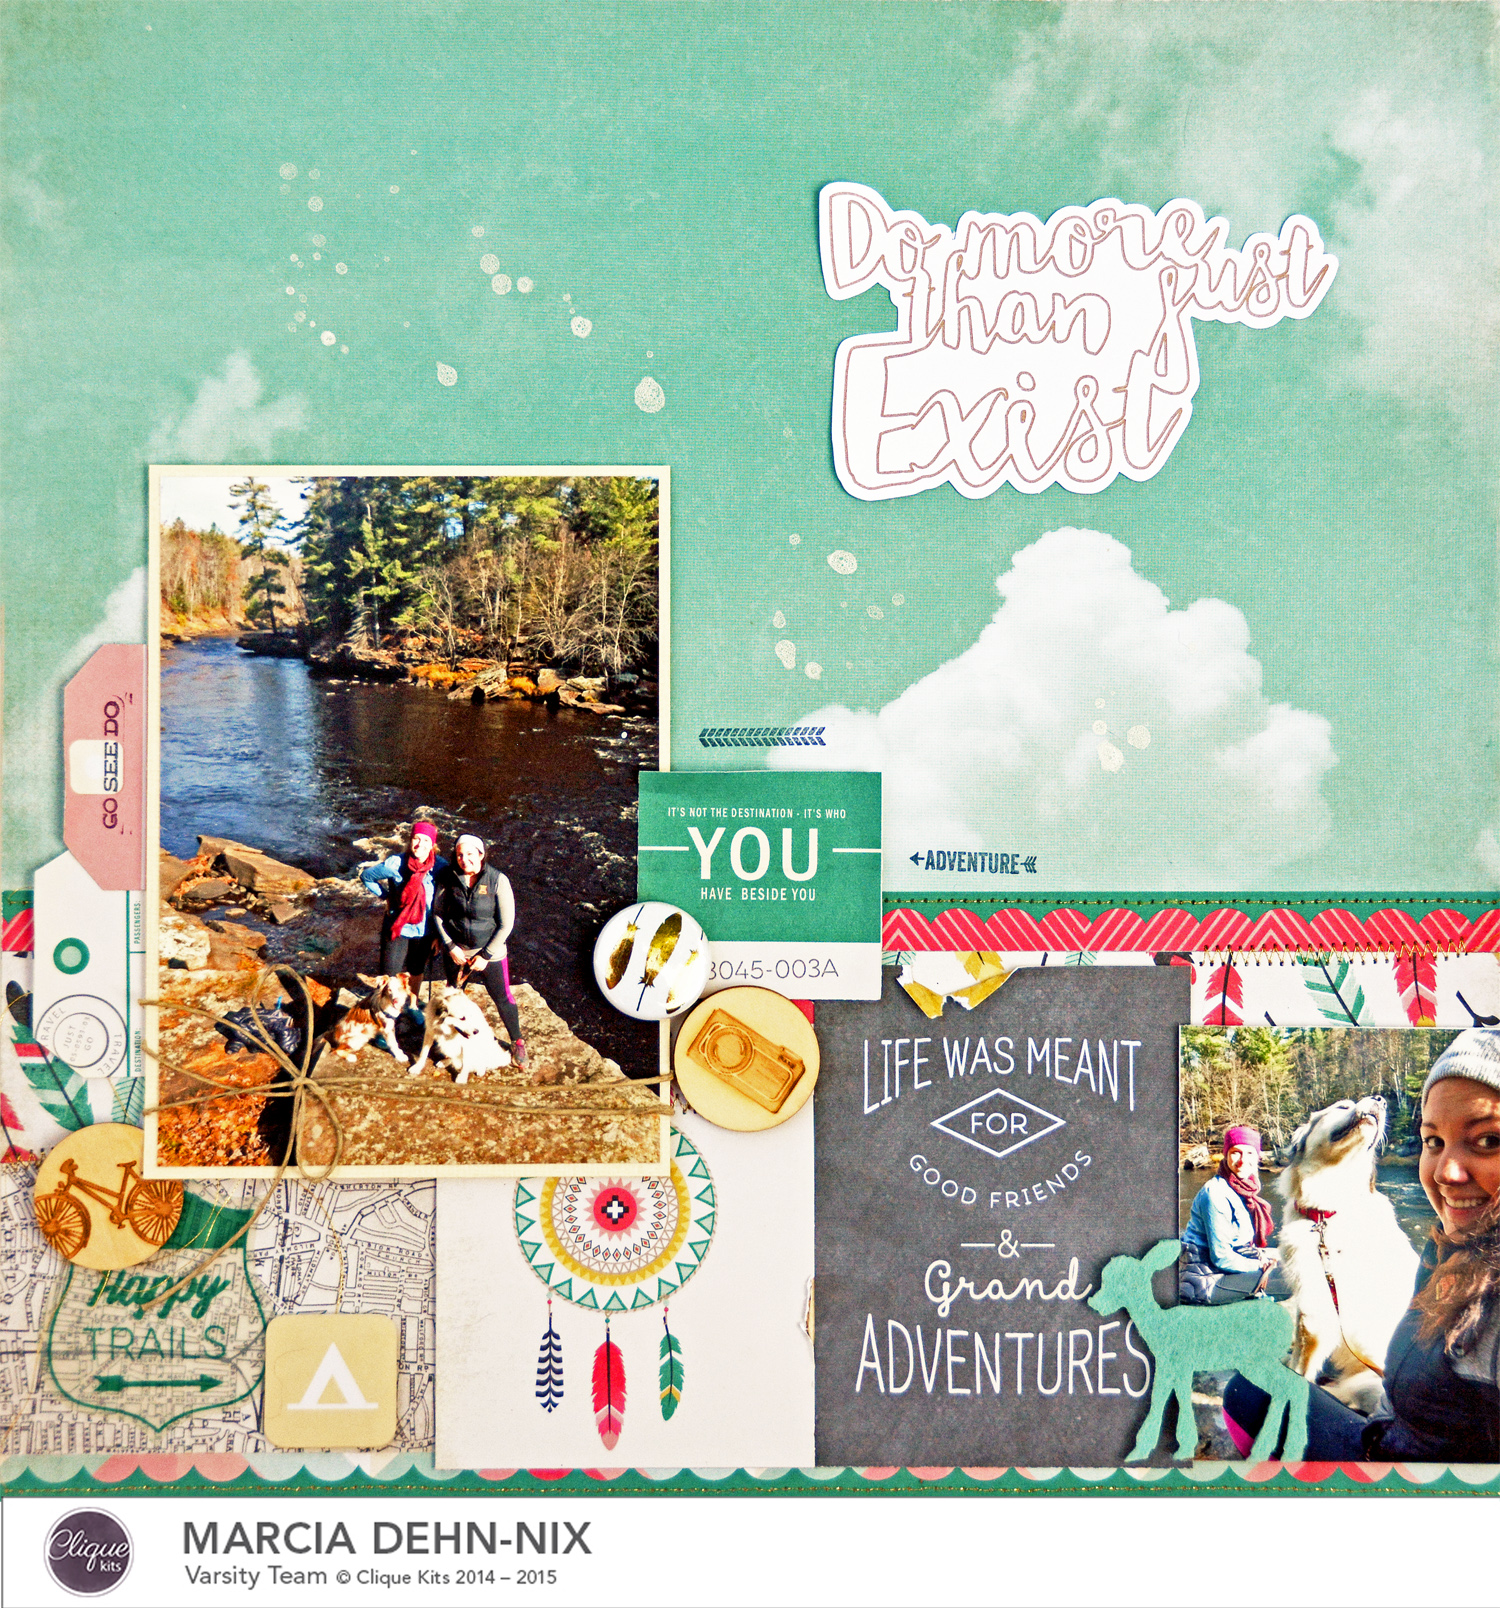
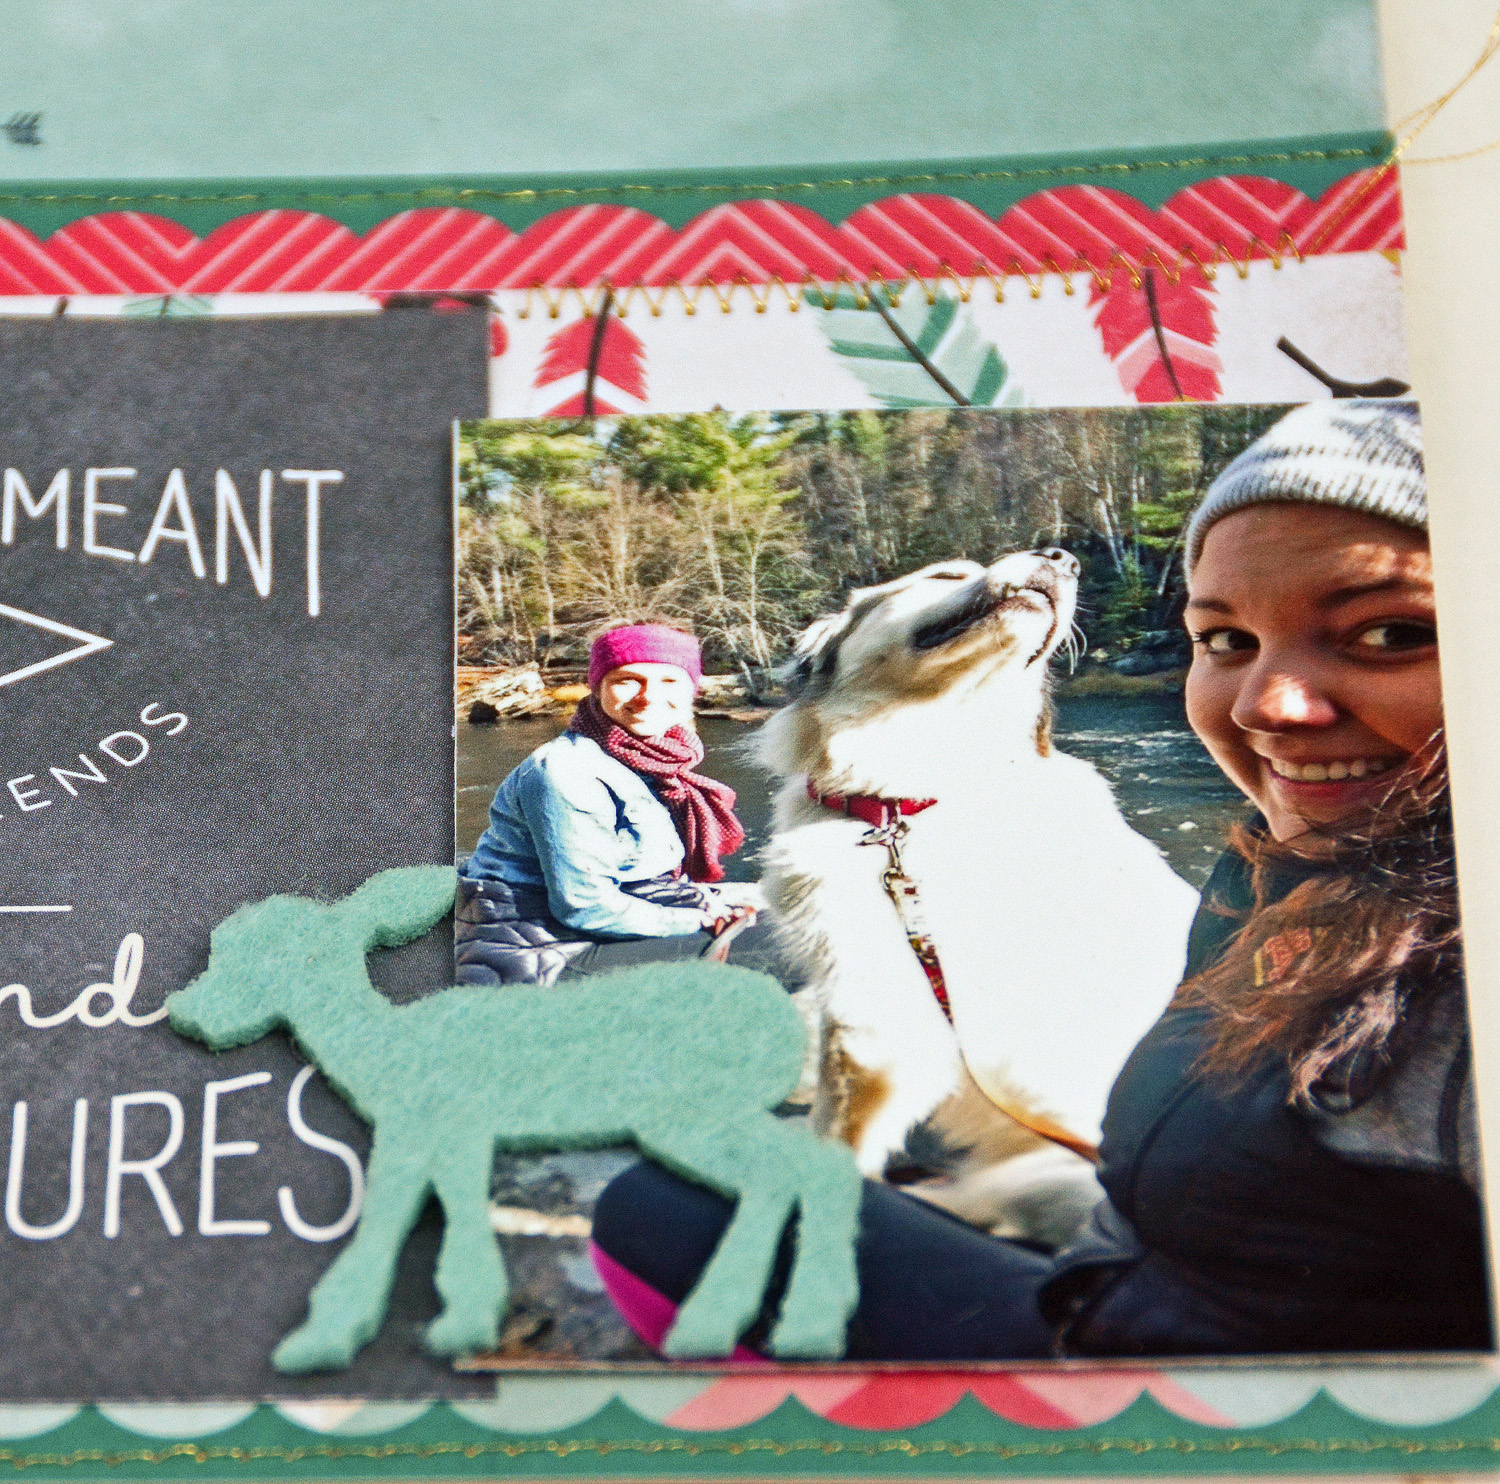
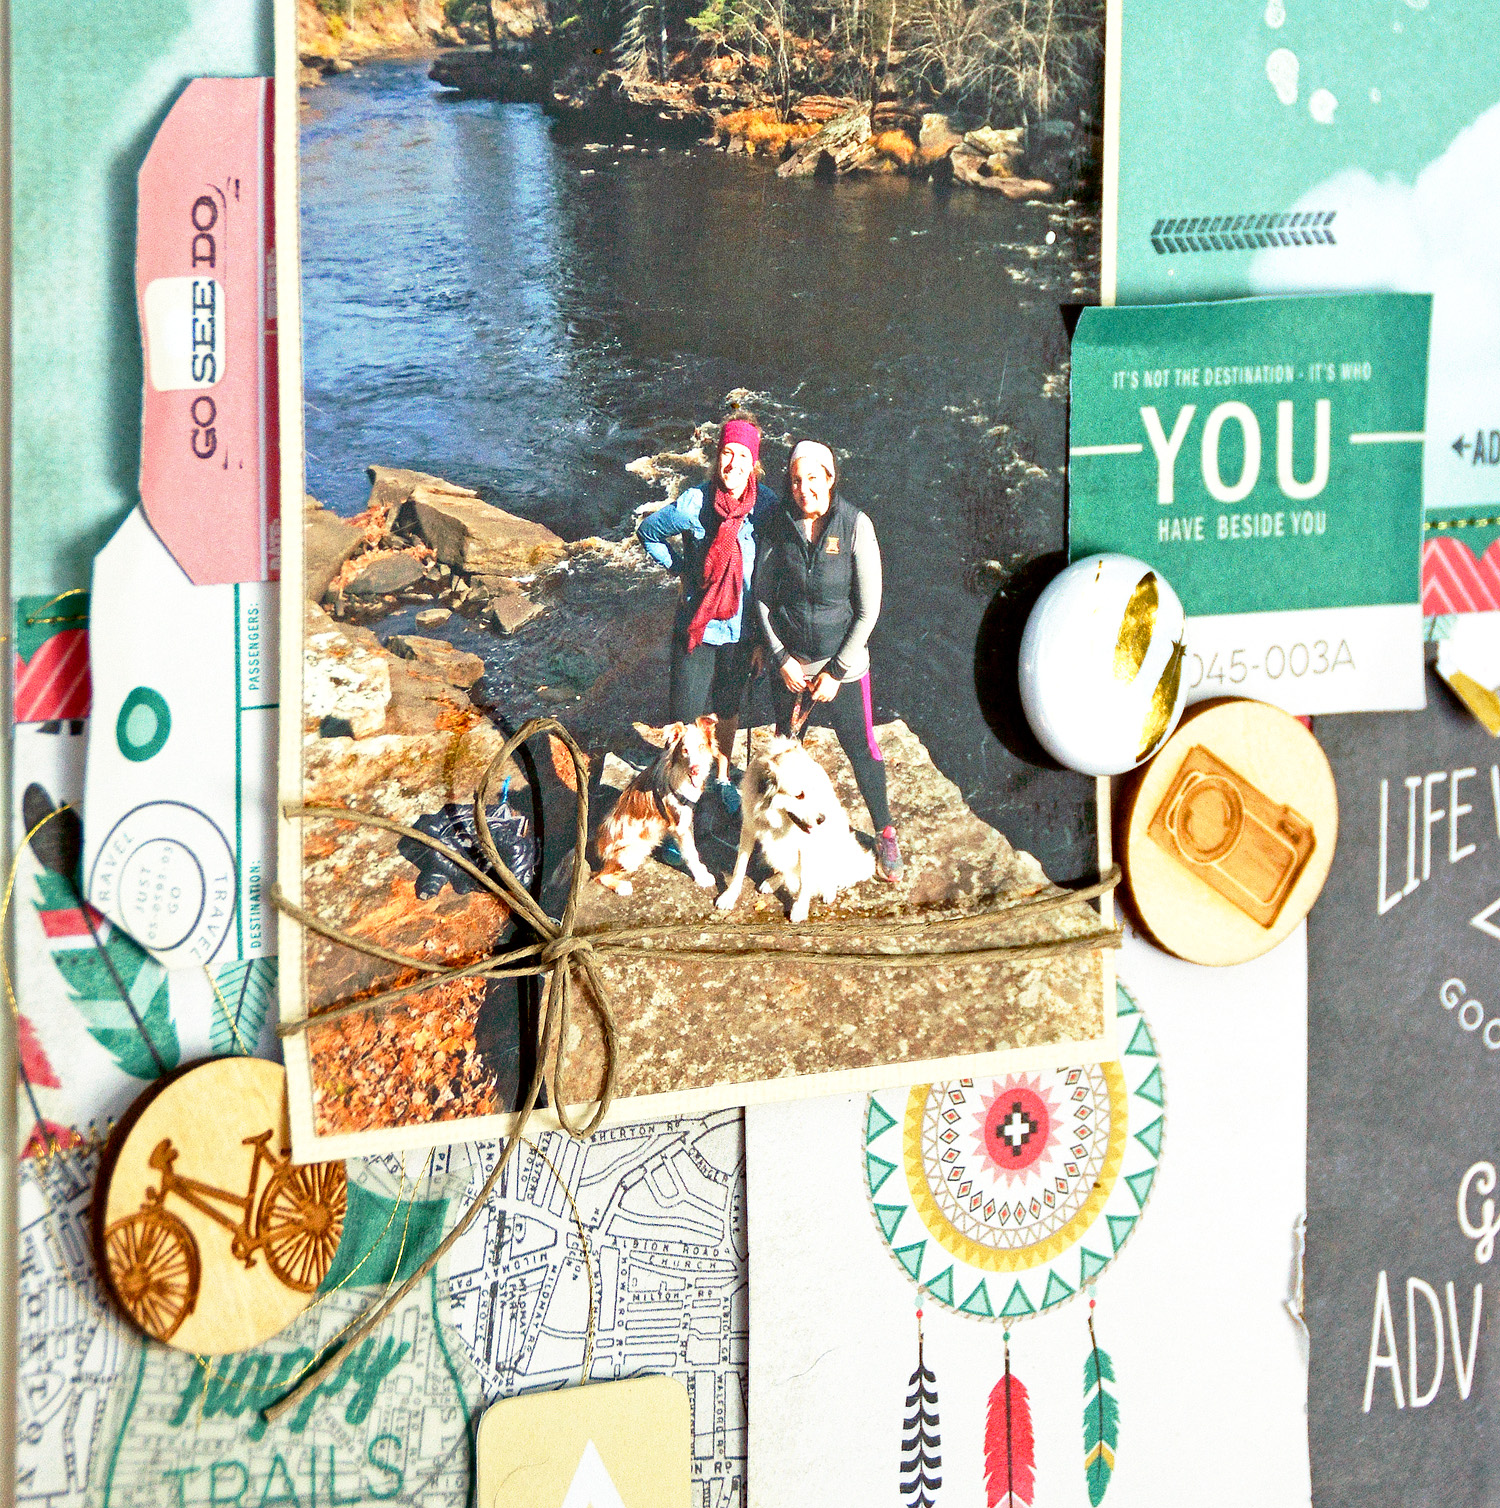
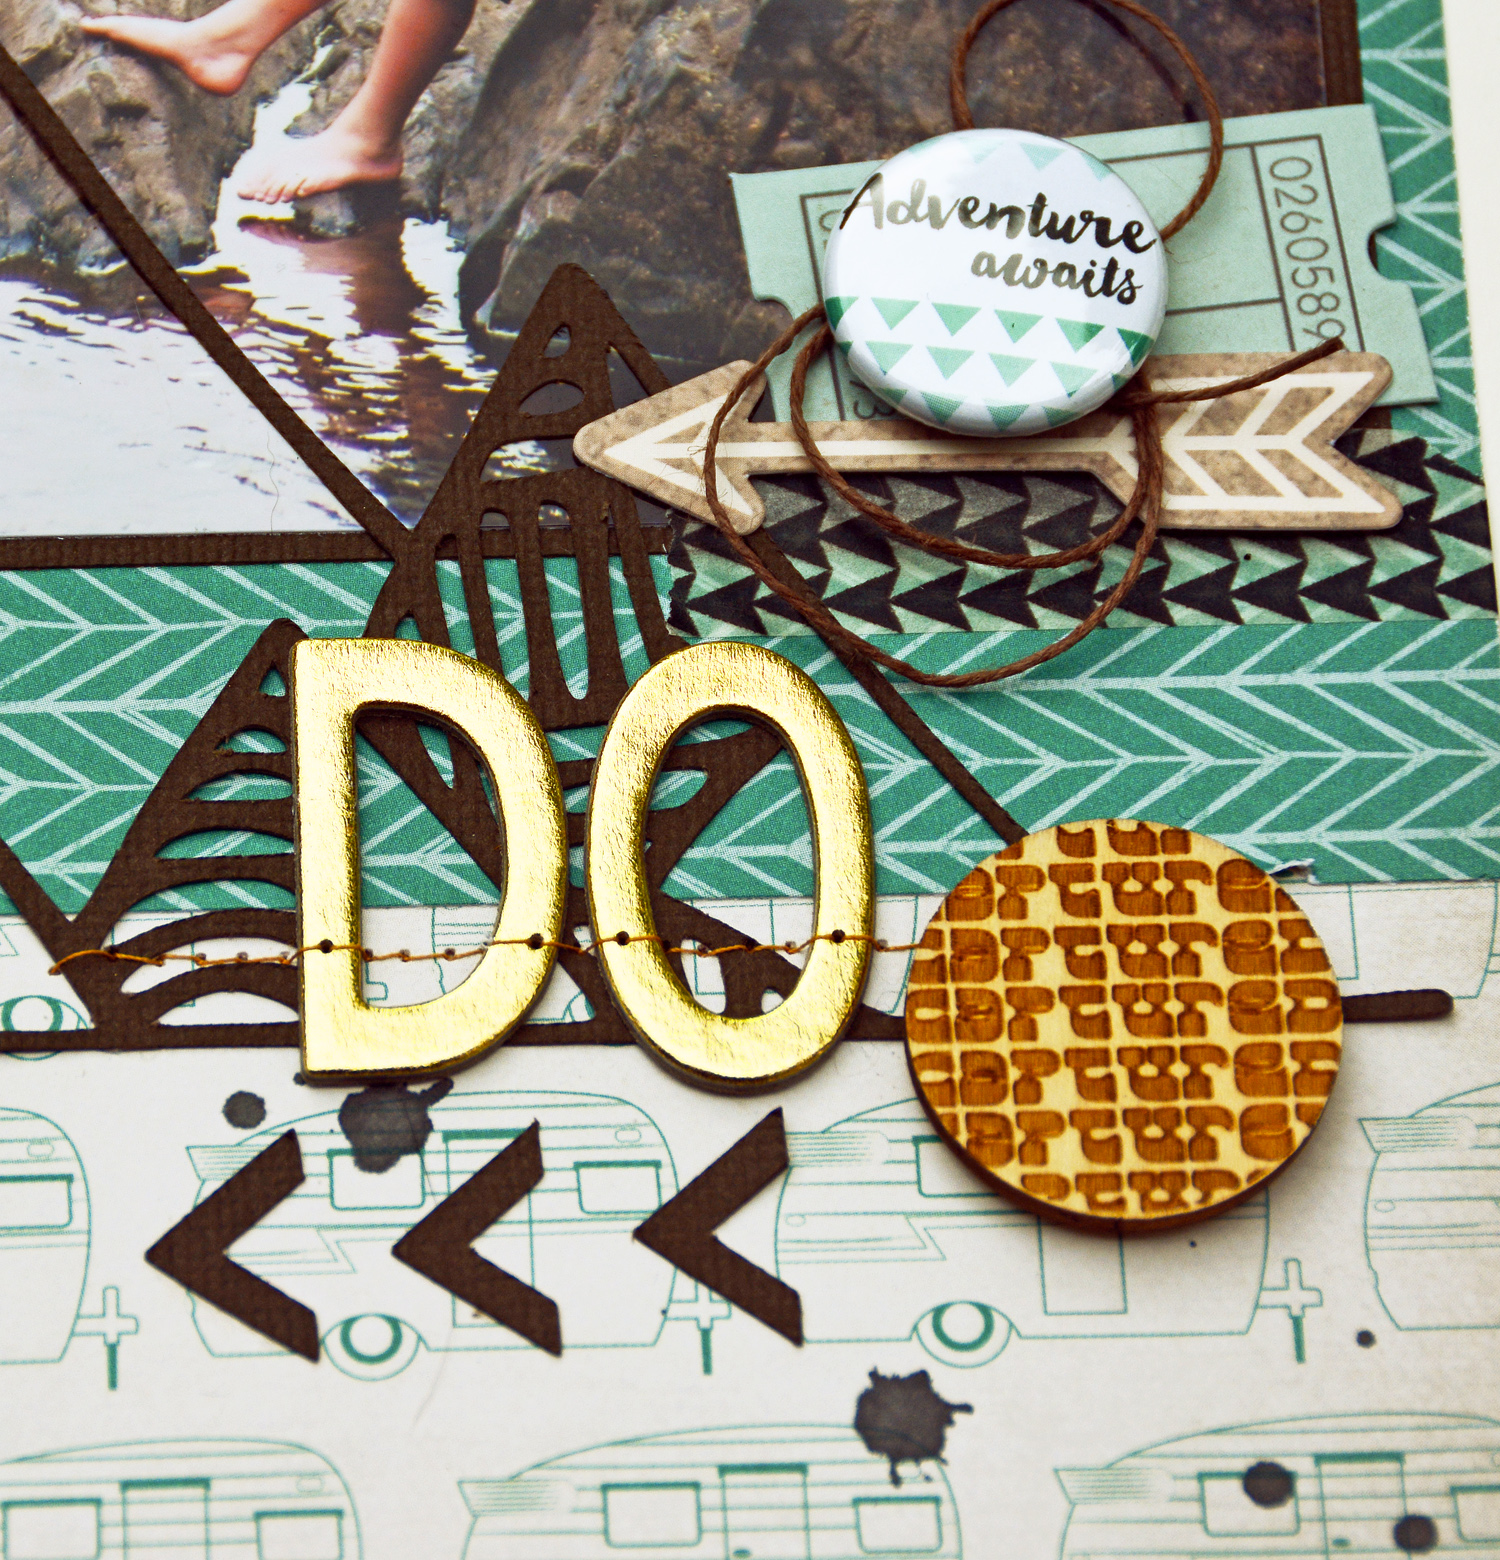
One of my families favorite destinations is Itasca State Park in northwestern Minnesota. You might know that already since I have scrapped it a billion times (or close to it, lol). No trip to Itasca is complete without visiting the Mississippi river headwaters. Here the kids (and dogs) attempt to cross the river on the rocks.


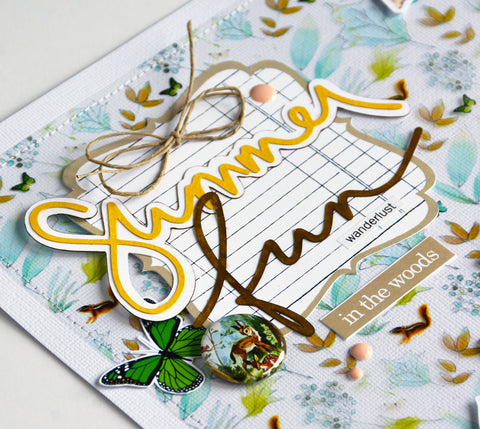
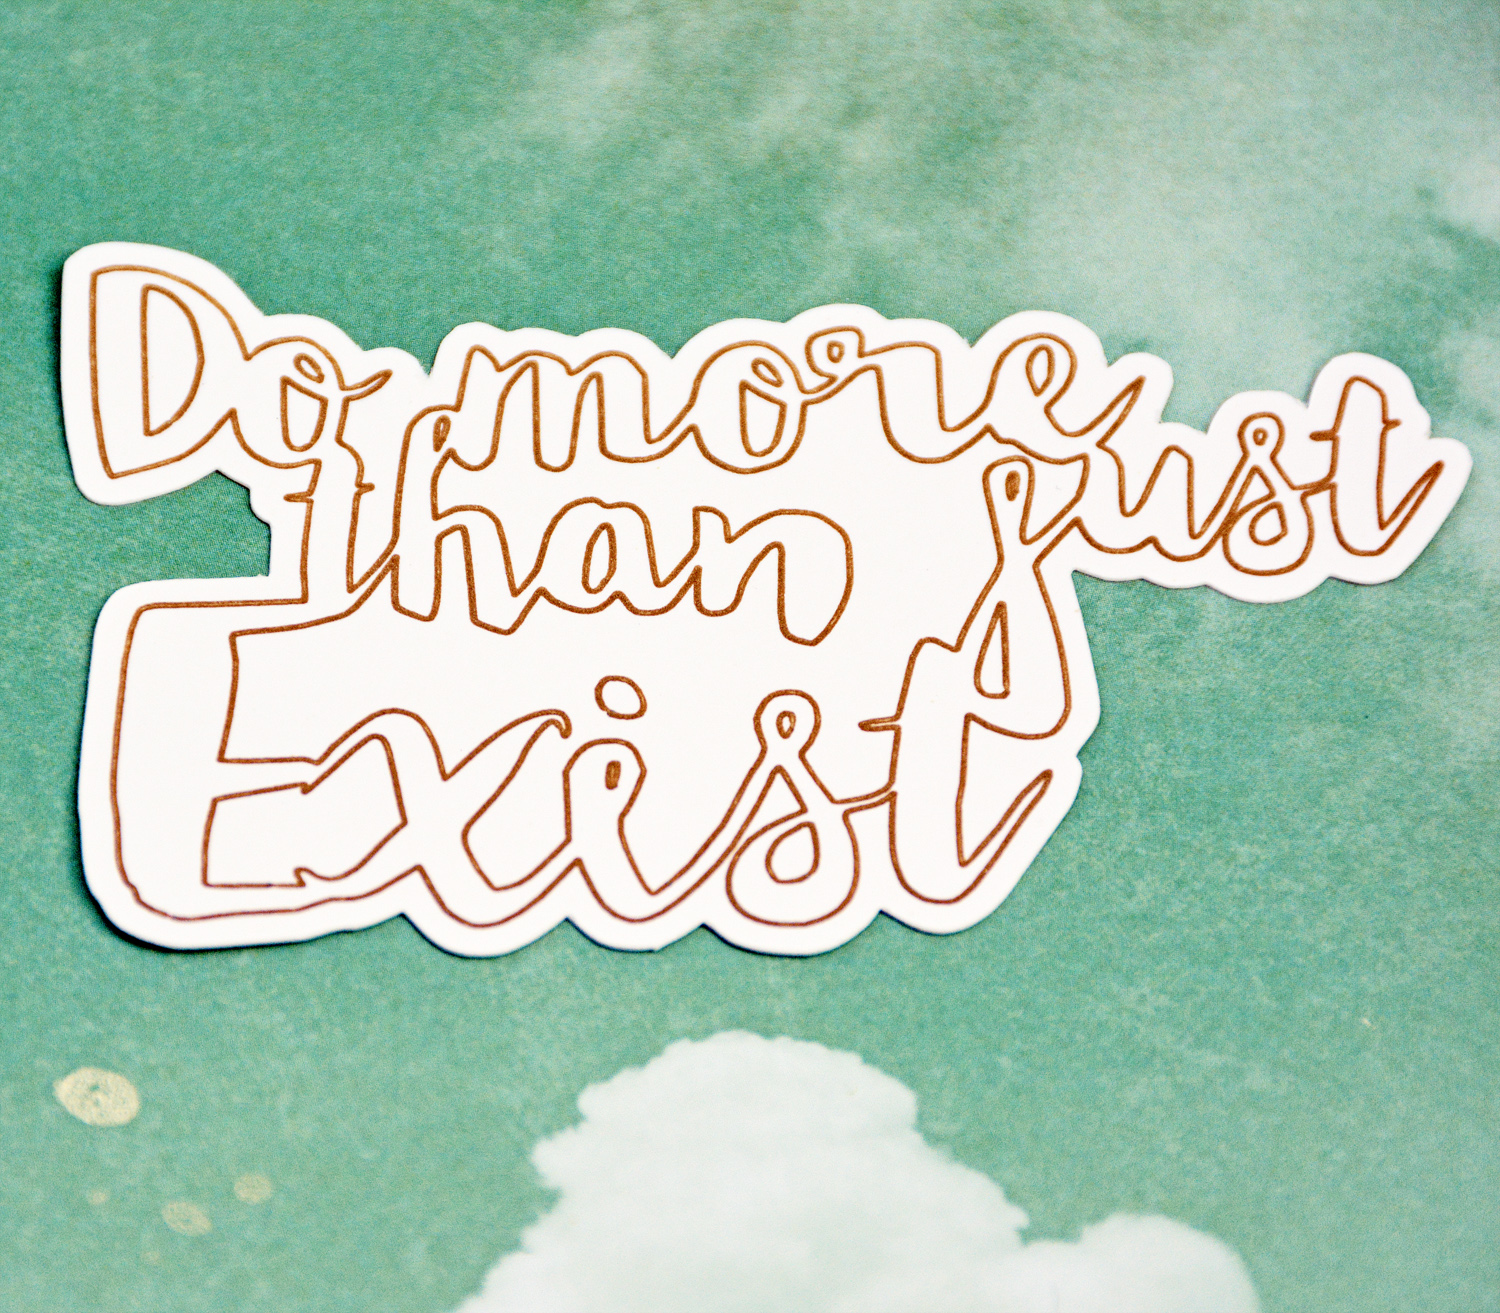
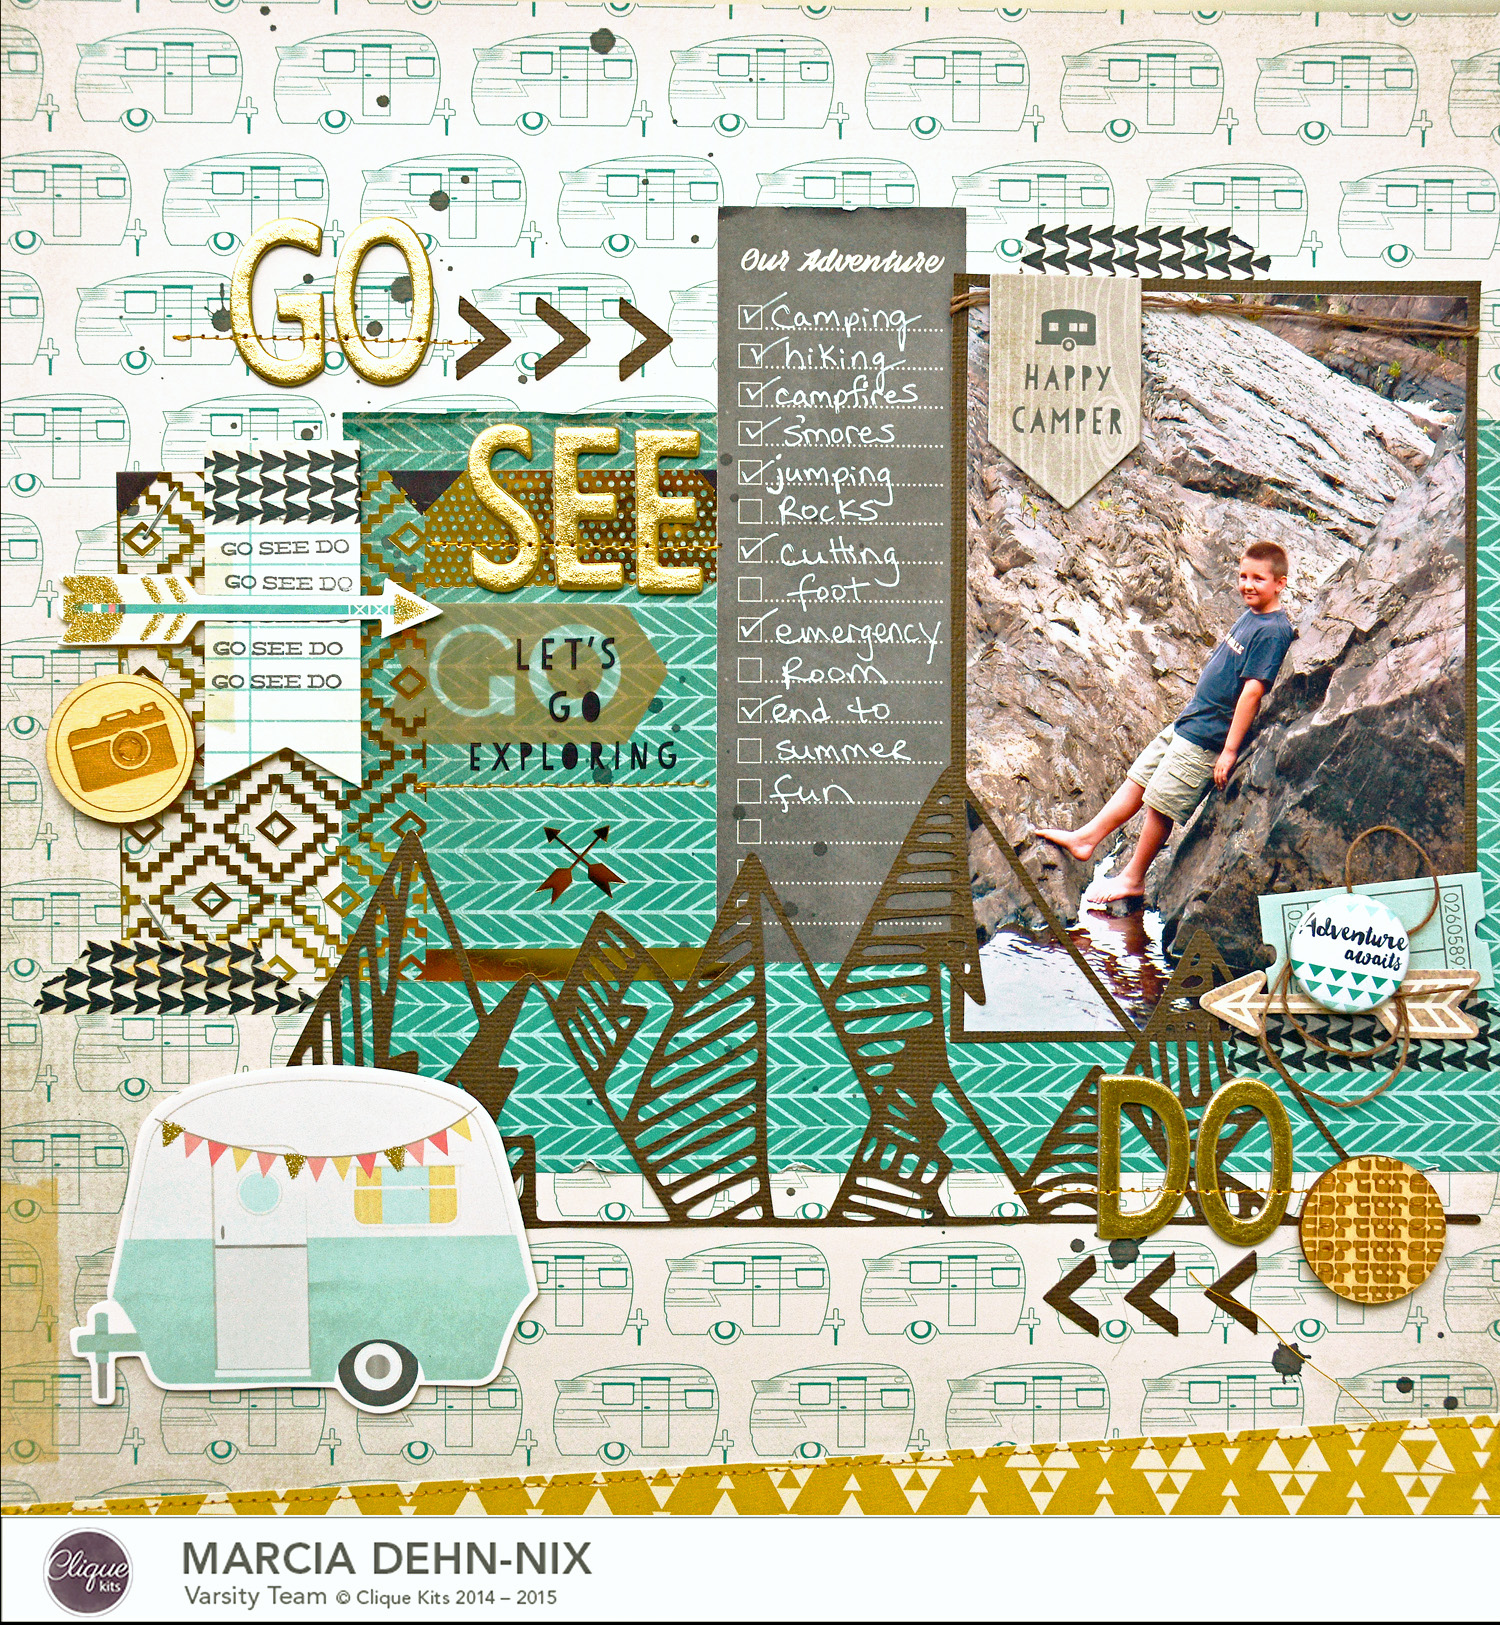
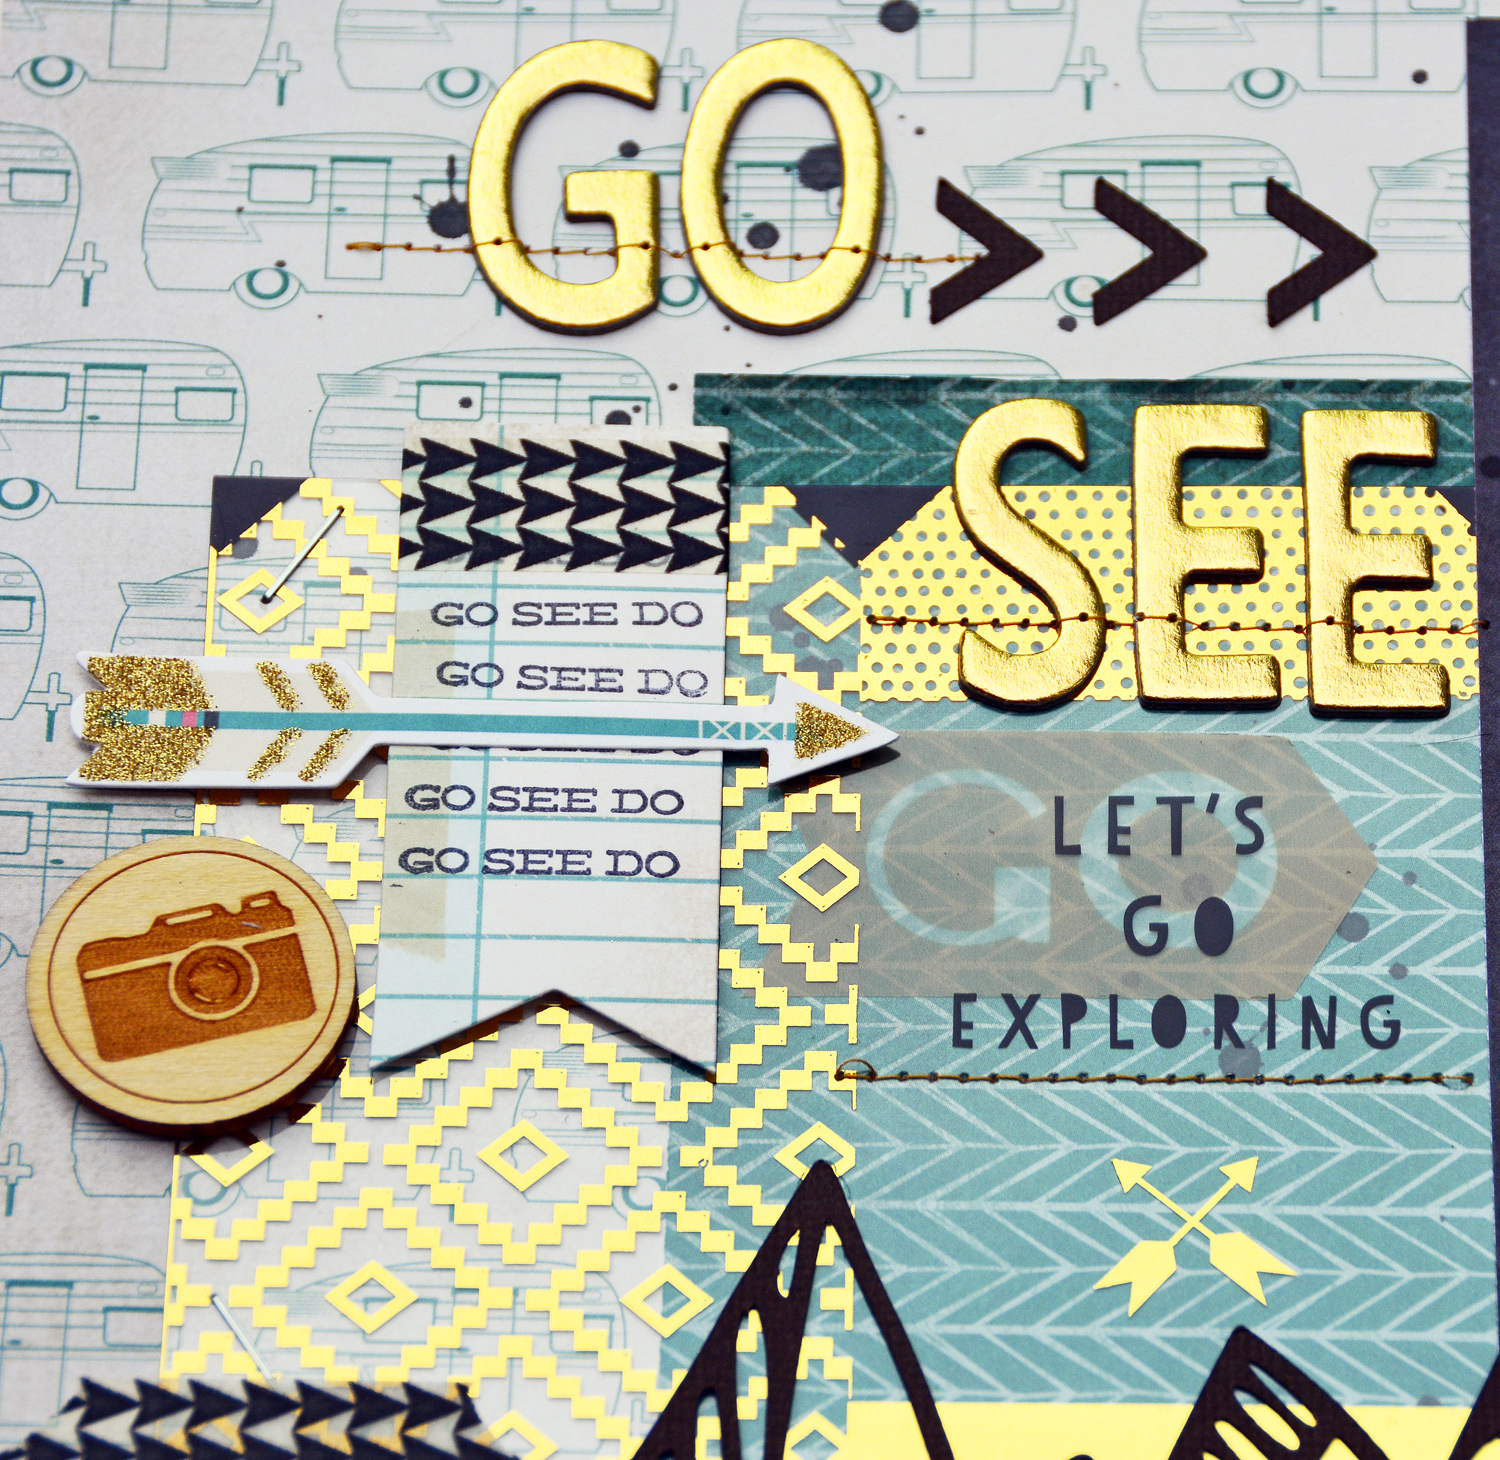
I used Jillibean Soup products from the Simple Staples III line as well as the Farmhouse Stew collection. I arranged my photos in a strip so allow as much of the Woodgrain Background digital cut file to show. I LOVE this cut file... and it is so perfect for these photos in the north woods. I created a big statement of a title using the Farmhouse Stew Die Cut Alphas and some stickers.


I kept the embellishments to a minimum ... just a few stickers, including these fabulous puffy sticker butterflies.


Supplies:
Jillibean Soup
Pattern Paper: Farmhouse Stew / Gimme Some Sugar
Pattern Paper: Soup Staples III / Kraft Triangle
Coordinating Stickers:  Farmhouse Stew, Bowl Of Dreams
Letter Die Cuts : Farmhouse Stew
Puffy Stickers:  Farmhouse Stew
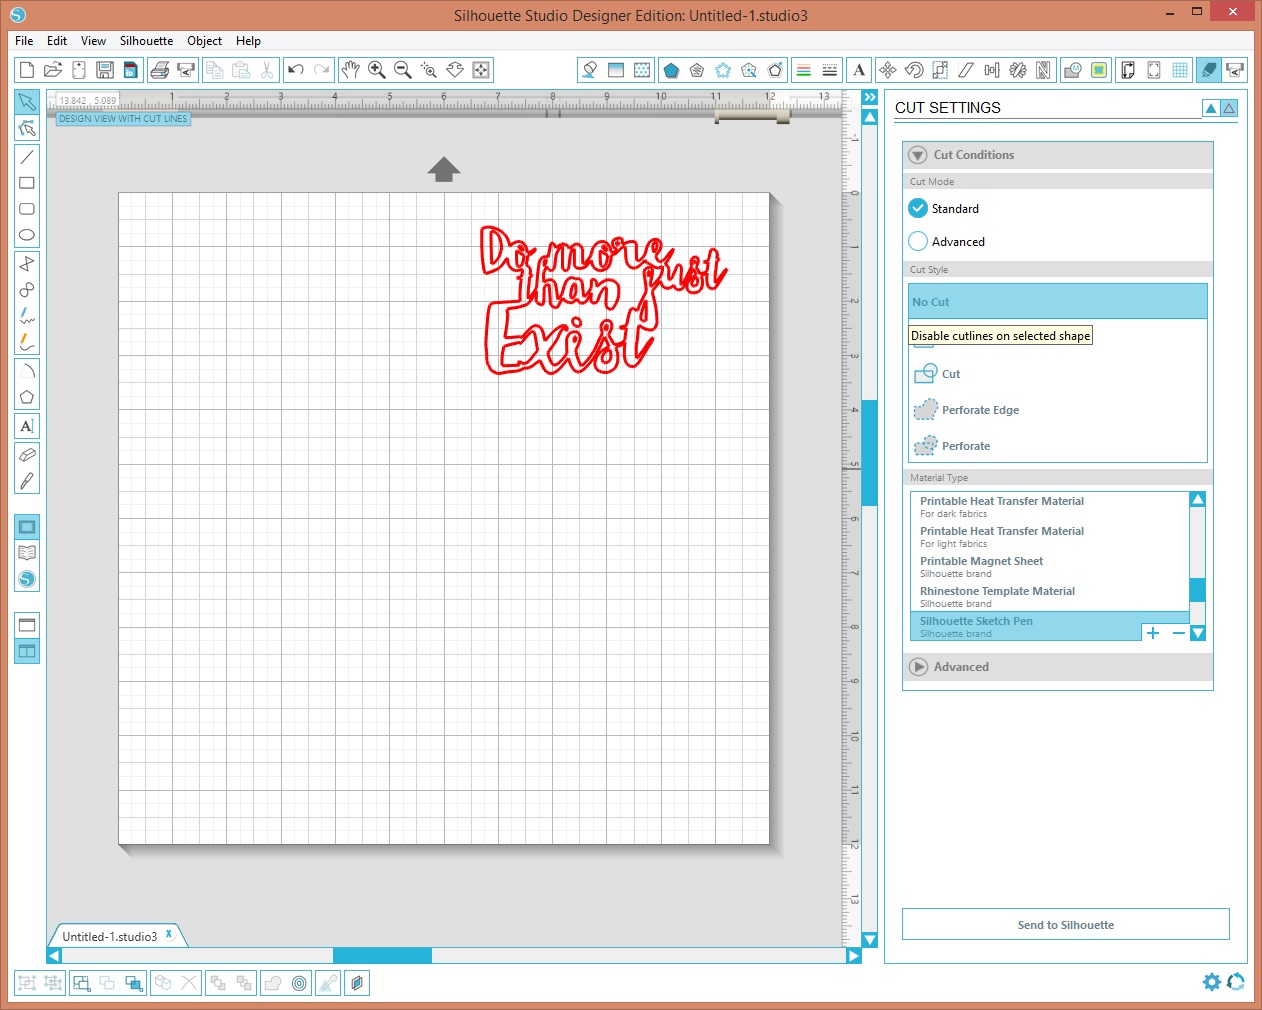
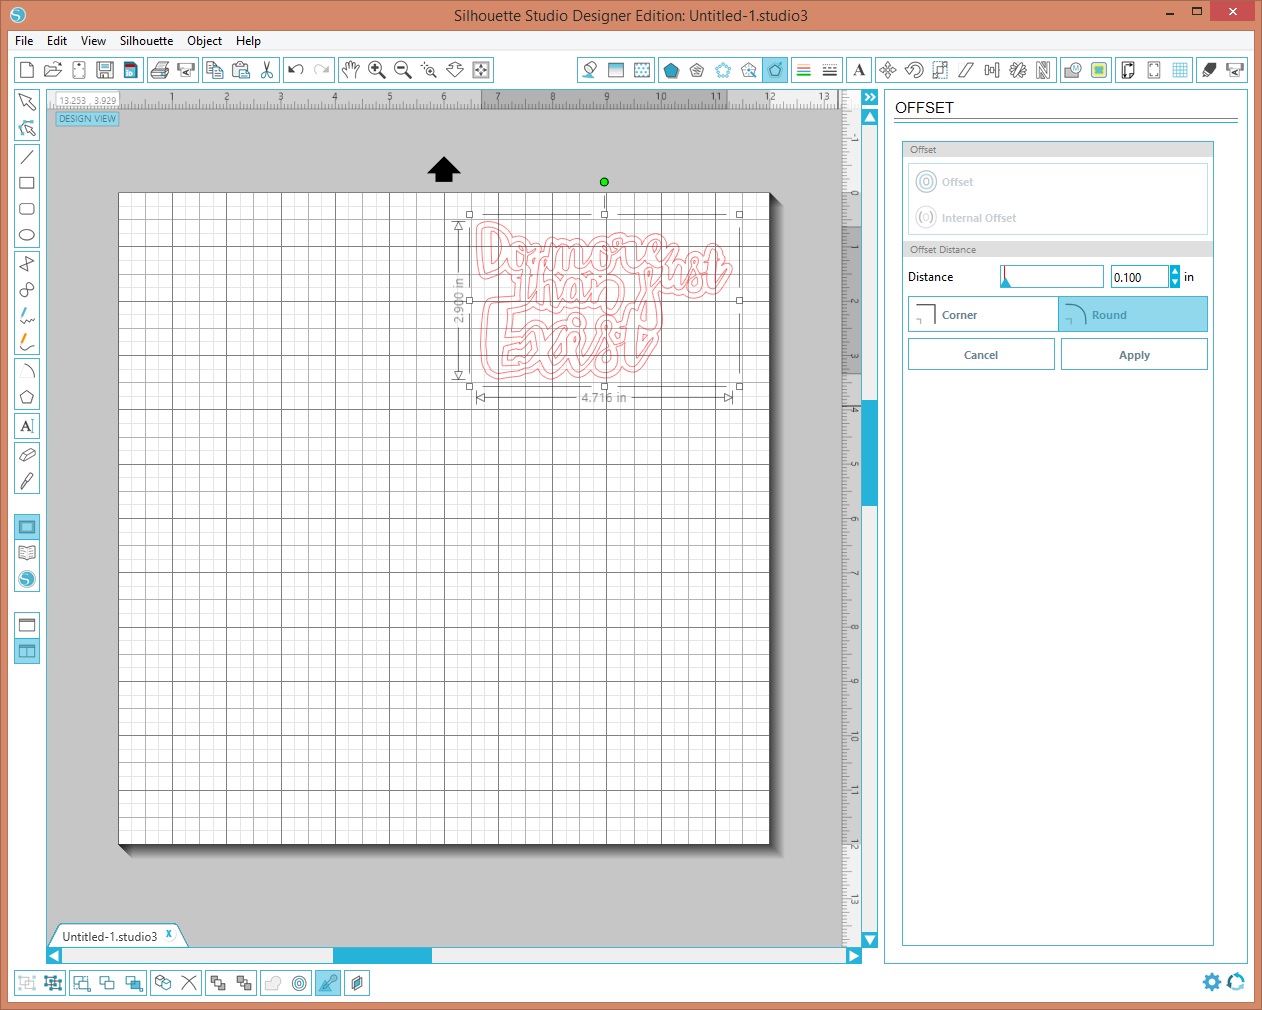
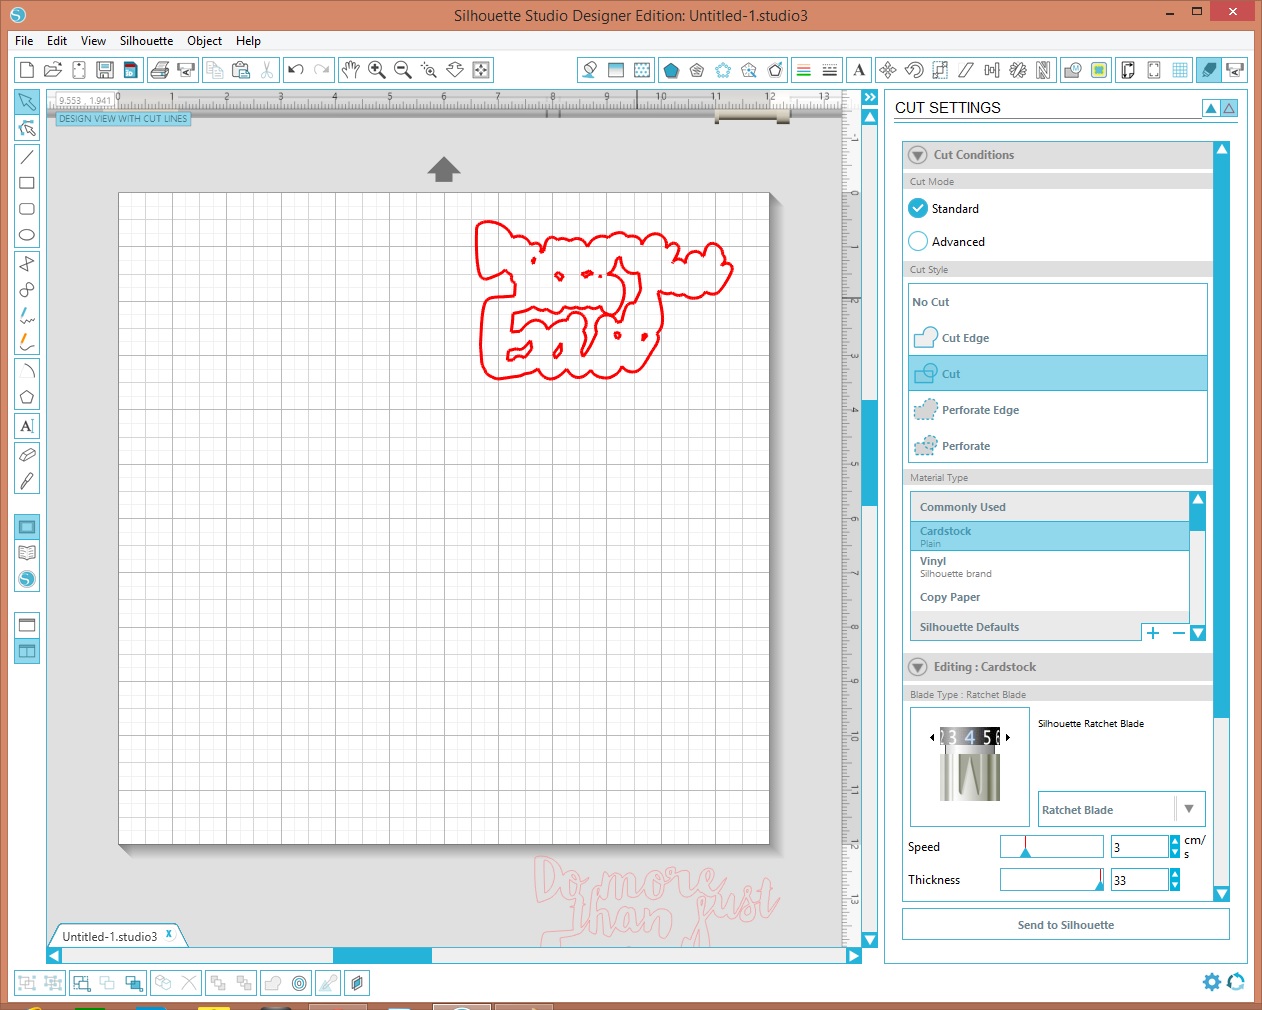
Digital Cut Files: Woodgrain Background / Design ID #161767

Other: Core'dinations cardstock, Silhouette Cameo, Brother Sewing Machine, white thread

This was a quick and fun layout. I love how it turned out. Thanks for stopping by.
~Marcia


Thursday, August 23, 2018

Skipping Rocks - Jillibean Soup | PageMaps

Hello blogging friends!

I was so excited to be asked to create a layout for the PageMaps August reveal! I love working with Becky's sketches. Here is the sketch she sent me...


3 photos was a challenge for me, but I had these awesome photos of my son from our recent vacation on the North Shore of Lake Superior. The beaches are full of flat rocks, perfect for rock skipping.


I mixed Jillibean Soup collections to get a color scheme suitable for my lake photos. I pulled some brown pattern paper from the Shades of Color Soup collection, and blue pattern papers from the 2 Cool For School collection. I used a Jillibean Soup polaroid digital cut file to frame my smaller photos. I helps to keep them from blending too much into the background.


You can also see I added a lighthouse and anchor to my embellishment cluster in the lower left.


Another cluster of embellishments and my title appear at the top right.


There is room for journaling under my main photo. I added a few phrase stickers here too for interest.


Supplies:
Jillibean Soup
Pattern Paper  2 Cool For School / Too Legit, Wild Child;    Shades of Color / Gregarious Glow
Coordinating Stickers: 2 Cool For School
Puffy Stickers: 2 Cool For School
Digital Cut Files: Lighthouse / Design ID #271306, Anchor / Design ID #271718 , Life Is Better On The Beach /Design ID #271304 , Polaroid Heart / Design ID #39389
Sketch: PageMaps

Other: Bazzill cardstock, American Crafts cardstock, Wood Veneer, Shimmerz Vibez in Frost Bite, hemp twine, foam adhesive, Silhouette Cameo, Brother Sewing Machine, white thread


Thanks so much for stopping by today!
~Marcia

Tuesday, July 17, 2018

Something Beautiful - JustNick Studios

Hello blogging friends!

It's finally summer in Minnesota and my family was able to get away for a few days in early July and head to the north shore of Lake Superior. I snapped these photos of my daughter as we were hiking to one of the beautiful waterfalls there along the Superior Trail. I wanted to use a digital cut file that would help convey the great outdoors. The JustNick Studios Arrowhead Background digital cut file was perfect along with the PinkFresh Studios Escape the Ordinary collection. Those butterflies are amazing.


I wanted the pattern to be subtle, so I erased some of the arrows. This is an easy cut file to alter. After cutting, I used some plastic packaging and diluted spray mist to add a little color. Then I backed only some of the arrows with pattern papers, choosing to leave the rest backed with just white cardstock. Some machine stitching adds some texture.


I created embellishment clusters starting out with the Blossom Blooms cut from white cardstock for a base. I love how they soften everything and anchor my photos.


Here are the digital cut files I used today.


Thanks for stopping by today. I hope your summer has been filled with wonderful adventure too. Enjoy the rest of your week.

Wednesday, May 9, 2018

My Greatest Blessings Call Me Mom - JustNick Studios

Hello blogging friends!

I am back today with a layout about my three greatest blessings. The most important and rewarding job I have is being a Mom to my kids. Let me tell you though, it hasn't been easy! I sometimes wish they were little again. Patching up skinned knees is way easier than helping patch a broken heart ... or sitting by a hospital bedside after a car accident. But love binds us together and I know I can get through anything with my kids by my side. So to celebrate Mom's week at JustNick Studios, I decided to scrap a recent photo of my kids with me from a recent camping trip at our favorite spot, Itasca.


I used the Mom digital cut file for the 'MOM' part of my title and alpha stickers for the rest. I love the little flowers and sprigs of leaves welded to the letters. It suits my outdoor photo. I backed the flowers with some pattern paper and then added some enamel dots for dimension.


I created clusters of embellishments on both sides of my photo. To reinforce the outdoor theme I cut some stems from the Stems 4 digital cut file to add to those clusters.


Here are the digital cut files I used today ...


Here is the link to my process video if you are interested...


Thanks so much for stopping by. Have a great week and for you Mom's, I hope your Mother's Day is fabulous.

Tuesday, September 6, 2016

Summer Fun - JustNick Studios

Hello blogging friends!

I hope you all had a fabulous Labor Day weekend! I am sharing a JustNick Studios layout today. Nicole challenged us this week to use at least 3 cut files on our layouts this week. An easy task ... because all the cut files are so amazing. I had some camping photos from this summer to scrap so here is what I came up with. I used 4 cut files. Two of which are new; the Rustic Leaf Frame and the Vine Background. These were perfect for camping photos.


I used papers and embellishments from Pretty Little Studio. They don't have 12x12 papers ... 8x8 is the largest size! I love my pattern papers when creating a layout, so I was wondering what to do when I saw this Creative Scrapper's sketch from August. The smaller paper sizes would work here and I could use the new Rustic Leaf Frame for the circle element.


Here is a closer look at that Rustic Leaf Frame. This is one of my favorite new cut files released. I sized the frame so a 5x5 photo would fit perfectly ...


I trimmed the Vine Background down so that I only used a small part of it along the side of my layout and stitched over the top to add some texture.


I combined the Summer Words and the WORD 2 digital cut file to create my title...


Here are the cut files I used today ...


Thanks for stopping by today. Check out all the awesome new cut files in the store.


Sunday, June 26, 2016

Summer Adventure - Clique Kits inspiration

Hello blogging friends! 

I am back today with some digital die cutting inspiration using some of those awesome July Clique Kit exclusive cut files. I fell in love with the SUMMER cut file with all the variety of patterns going on in the different letters. I combined it with the adventure cut file. Now I had a perfect title for a layout to document a road trip vacation we took to the Black Hills in South Dakota! Oh, how I miss our camper! With kids almost done with college we have been talking about camping trips again, Wahooo! Here is my layout…


I used the yellow acetate sheet to back the cut file. Yellow is perfect for summer layouts! Here is another look at that awesome title.


Yes, I did a crazy amount of machine stitching on this layout. The watercolor background paper just wanted to curl up everywhere on me. Mounting it to heavy black cardstock and stitching helped immensely. Machine stitching is a great way to adhere those fabulous Pinkfresh transparency words too… Even on photos. I placed one of the exclusive flair buttons over an’O’ in the Go See Do transparent phrase. Works perfectly there!


My journaling is all about sticking heads and cameras out of car windows, lol. It’s hard to see in the photo, but that black head above my daughter’s head is my dog Satchel. You can see some of those pretty sequins from SpiegelMom Scraps and a Pinkfresh Studios rubber charm here too.


I hope I gave you some more fun ideas on how you can use your July Clique Kit! Thanks for stopping by today.


Thursday, June 11, 2015

Do More Than Just Exist - Clique Kits

Hello blogging friends! I have another layout to share today that I created with the June Dreamquest Clique Kit. This layout has photos from a camping/hiking trip my daughter took last Fall with some friends just south of Duluth. Of my three kids, she takes the most pictures of herself, lol. I wanted to leave lots of white space on that pretty cloud paper, so I clustered my photos and papers at the bottom.

DoMore 

The title is one of the exclusive digital cut files that come with the June kit. Since I had many comments about the Silhouette sketch pen I used on my last layout, I decided to show you another way to use sketch pens for titles. Once again I used my gold metallic sketch pen in my Silhouette. But this time I created an offset and cut it out.

  title

Let me show you how you can do this too. The first step is to select Silhouette Sketch Pen in the cut settings window and swap out your blade for a pen.

  SilhouetteTutorial1 

 Do not remove the paper from the Silhouette yet! Now go to the offset window and select 'Offset'. You can adjust the distance from the pen until it is just how you want it.

  SilhouetteTutorial2 

 Now go back to the cut settings menu and switch your settings back to cardstock. Remember to replace the blade in your Silhouette too. Drag the original title off the mat. We don't want to cut where the sketch pen drew lines. Since I wanted my title to look more like a cloud, I also erased those inside pieces before cutting. I like using the eraser to do this. You can find the eraser in the toolbar along the left. Now you are ready to cut.

  SilhouetteTutorial3

I hope you will give this a try. Here are some more shots of my layout...

  FlairDetail 

This felt deer was an add on to the November kit, but I could not resist using him here. There are always some fabulous finds in the Clique Store. Coupon code Marcia10 saves you 10%.

  deer  

  detail 

 Thanks for stopping by.

Tuesday, May 26, 2015

Go ... See ... Do... - Clique Kits

Hello blogging friends!

I have another layout to share using the awesome June Clique Kit featuring the Crate Paper Journey collection! I am not a PL scrapper, but I still love to use those journal cards to tell a story on my layouts. I cut out the "Our Adventure" journal card and started listing a few of the highlights from a late summer camping trip. We were camping in Jay Cooke State Park near Duluth Minnesota. My son was having a great time exploring in the creek nearby. I remember yelling at him not to ruin his new school tennis shoes in the water. So he carefully took them off and left them on the bank before jumping rocks to cross the creek. I snapped his photo and as he was jumping rocks to come back, he slipped and caught himself, but his foot was sliced open on a sharp rock! We ended up having to take him to a nearby hospital emergency room. Life with boys! You can see I used Lacey's mountain cut file too. It looks awesome with my photo.

  GoSeeDo

One of my favorite parts of the kit are these gold acetate journaling cards. They are super fun to layer over the pattern paper and ephemera pieces. You can see I used staples and even stitched over them to keep them in place. I didn't want to use any adhesive that would show.

  GoSeeDetail

Don't you just love these wooden tokens by Maya Road too!

  GoSeeTag

DOdetail   

 Thanks for stopping by!